
Delicious Rice Krispie Treat Cheesecake Recipe and Tips
Indulging in desserts often leads us to explore delightful combinations, and the Rice Krispie Treat Cheesecake is a perfect example of this culinary fusion. This treat merges the beloved classic Rice Krispie treats —made from crispy rice cereal, gooey marshmallows, and butter—with the rich, creamy texture of cheesecake. The result is a blissful dessert that tantalizes both the taste buds and the senses, offering a satisfying crunch offset by velvety smoothness. Perfect for celebrations or as a sweet ending to any meal, this innovative dessert has gained popularity as a playful twist on two favorites that many people cherish.
In this article, we will delve into the alluring world of Rice Krispie Treat Cheesecake, guiding you through its creation from start to finish. You’ll learn about the essential ingredients that make this dessert a standout, a step-by-step recipe for perfect execution, and exciting variations to customize it to your liking. Whether you are a seasoned baker or just starting out, we’ll provide the insights and tips you need to impress friends and family with this delectable dessert. So, grab your mixing bowls, and let’s get started on this sweet journey!
1. What is a Rice Krispie Treat Cheesecake?
The Rice Krispie Treat Cheesecake is a delightful dessert that blends the crispy texture of classic Rice Krispie treats with the rich, smooth decadence of cheesecake. To fully appreciate this innovative dessert, it’s essential to understand the origins of its two key components.
Rice Krispie treats date back to the 1930s when they were first created by the Kellogg Company as a way to promote their Rice Bubbles (the original name for Rice Krispies). Initially, the treats were made with just three simple ingredients: crispy rice cereal, melted marshmallows, and butter. These gooey snacks quickly gained popularity, becoming a staple for schools and bake sales across the United States.
On the other hand, cheesecake has a long history that dates back to ancient Greece. The Greeks are believed to have served cheesecake to athletes during the first Olympic Games in 776 B.C. Over the years, cheesecake evolved into various forms, with regional variations emerging across Europe and the United States. Today, cheesecake comes in an array of flavors and styles, each with a distinct twist that showcases the creamy, tangy flavor profile of its main ingredient: cream cheese.
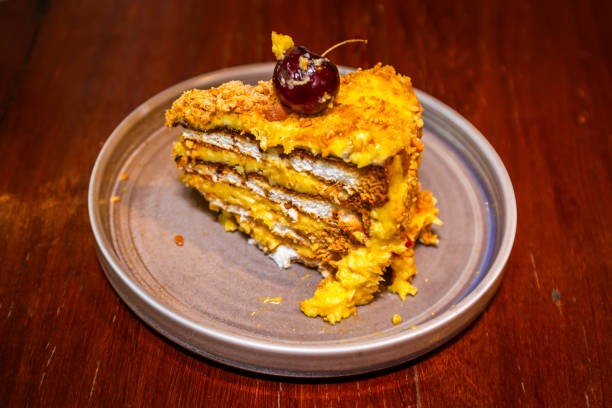
The Rice Krispie Treat Cheesecake is a fusion that encapsulates the flavorful essence of both its predecessors. The combination of the soft, creamy cheesecake filling with the crunchy, buttery crust creates a balanced texture that appeals to dessert lovers of all ages. This dessert has surged in popularity at gatherings, parties, and festive occasions, offering a whimsical and delicious finish to any meal.
2. Ingredients Needed for Rice Krispie Treat Cheesecake
Creating the heavenly Rice Krispie Treat Cheesecake requires a selection of both classic and essential ingredients that work harmoniously to achieve the desired flavor and texture. Here’s a comprehensive list of what you’ll need to whip up this delightful dessert:
- For the crust:
- Rice Krispies
- Marshmallows
- Butter
- For the cheesecake filling:
- Cream cheese
- Sugar
- Vanilla extract
- Sour cream
- Eggs
- For the topping:
- Whipped cream
- Additional Rice Krispies or sprinkles
In addition to these ingredients, you will also need some special equipment to ensure smooth preparation and assembly:
- Mixing bowls
- Springform pan
- Spatula
- Whisk or electric mixer
3. Step-by-Step Recipe for Rice Krispie Treat Cheesecake
Now that you’ve gathered all the necessary ingredients, it’s time to embark on the exciting journey of making your Rice Krispie Treat Cheesecake. Follow these detailed steps to create a dessert that will impress everyone!
3.1. Preparation
Before you dive into the recipe, ensure that you prepare your ingredients. For the cream cheese to blend smoothly, it is essential to soften it at room temperature for about 30 minutes. Meanwhile, you can also melt the butter for the crust and allow it to cool slightly.
3.2. Making the Rice Krispie Crust
Ingredients:
- 3 cups Rice Krispies
- 10 oz marshmallows
- 3 tablespoons butter
Directions:
- In a large saucepan, melt the butter over low heat.
- Add the marshmallows to the melted butter, stirring continuously until completely melted and smooth.
- Remove the saucepan from heat and gently fold the Rice Krispies into the mixture until evenly coated.
- Transfer the mixture to a greased springform pan and press it down evenly to form the base. Allow it to cool completely before adding the cheesecake filling.
3.3. Preparing the Cheesecake Filling
Ingredients:
- 16 oz cream cheese, softened
- 1 cup sugar
- 1 teaspoon vanilla extract
- 1 cup sour cream
- 3 large eggs
Directions:
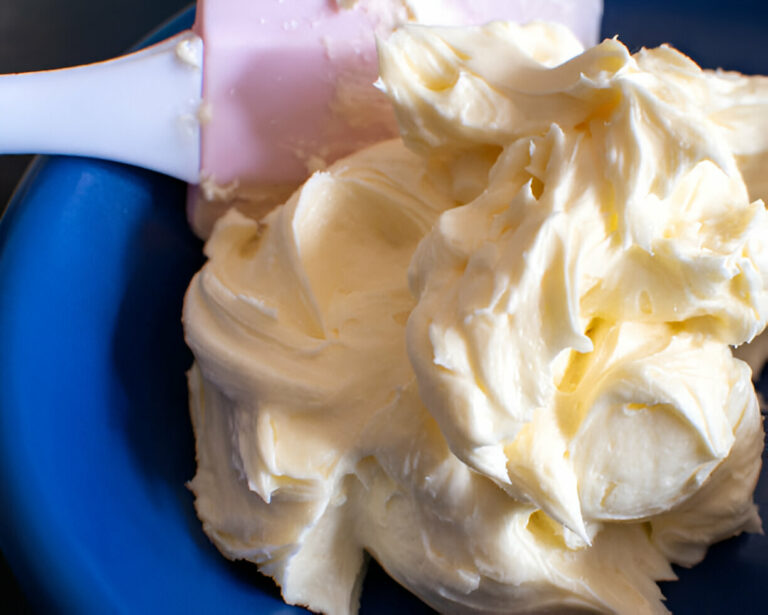
- In a mixing bowl, combine the softened cream cheese and sugar. Beat together using an electric mixer until smooth and creamy.
- Add the vanilla extract and sour cream, mixing until combined.
- In a separate bowl, lightly beat the eggs and then gradually incorporate them into the cream cheese mixture, avoiding overmixing to prevent lumps.
3.4. Assembly
With both the crust and filling prepared, it’s time to assemble your cheesecake. Pour the cheesecake filling over the cooled Rice Krispie crust, spreading it evenly with a spatula. Optionally, you can sprinkle some extra Rice Krispies on top for added crunch.
3.5. Baking and Cooling
Preheat your oven to 325°F (163°C). Bake the cheesecake for about 50-60 minutes, or until the edges are set and the center has a slight jiggle. Once baked, cool the cheesecake at room temperature for an hour before transferring it to the refrigerator to chill for at least 4 hours, or ideally overnight, to allow it to set properly.
3.6. Serving Suggestions
When you’re ready to serve the Rice Krispie Treat Cheesecake, carefully remove it from the springform pan. Garnish with whipped cream and a sprinkling of Rice Krispies or colorful sprinkles for a festive touch. Slice with a sharp knife for clean edges, and enjoy this playful and delicious dessert!
4. Variations and Customizations for Rice Krispie Treat Cheesecake
The beauty of Rice Krispie Treat Cheesecake lies in its versatility. Here are some exciting variations and customizations that can cater to different tastes and preferences:
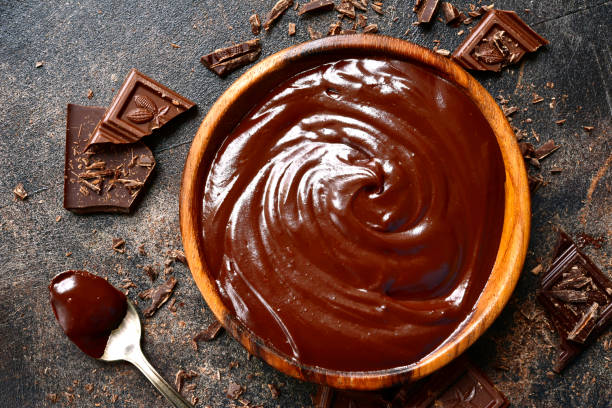
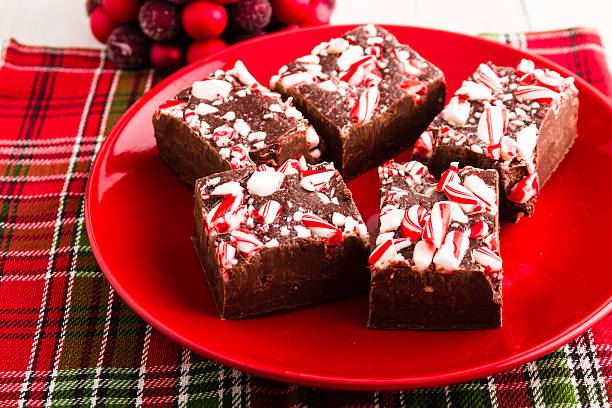
- Chocolate Rice Krispie Treat Cheesecake: Add cocoa powder to the crust or mix chocolate chips into the cheesecake filling for a delightful chocolatey twist.
- Pumpkin Spice Rice Krispie Treat Cheesecake: Perfect for the fall season, incorporate pumpkin puree and spices like cinnamon and nutmeg into the cheesecake filling.
- Gluten-free options: Substitute the traditional Rice Krispies with gluten-free rice cereal to cater to those with gluten sensitivities.
- Flavoring the cheesecake: Experiment with various extracts, such as almond or lemon, or fold in mashed fruits like strawberries or blueberries for a fruity flair.
- Dietary adaptations: For a vegan option, consider using coconut cream in place of cream cheese and a vegan binder such as flaxseed or chia seeds.
Rice Krispie Treat Cheesecake
Equipment
- 1 9-inch springform pan
- multiple mixing bowls
- 1 electric mixer
- 1 saucepan
- 1 rubber spatula
- 1 large spoon
- 1 set measuring cups
- 1 set measuring spoons
Ingredients
- 3 cups Rice Krispies cereal For the crust
- 4 cups mini marshmallows For the crust
- 3 tablespoons unsalted butter For the crust
- 16 oz cream cheese Softened, for the filling
- 1 cup granulated sugar For the filling
- 1 teaspoon vanilla extract For the filling
- 2 large eggs For the filling
- 1 cup sour cream For the filling
- 1 cup heavy whipping cream For topping
- 2 tablespoons powdered sugar For topping
- 1 cup Rice Krispies cereal For garnish
Instructions
- Preheat your oven to 325°F (163°C). Grease the bottom of a 9-inch springform pan.
- In a large saucepan over low heat, melt the butter. Once melted, add the mini marshmallows and stir until completely melted and smooth. Remove from heat.
- Stir in the 3 cups of Rice Krispies cereal until well coated. Press the mixture firmly into the bottom of the prepared springform pan to form an even crust. Set aside to cool.
- In a mixing bowl, beat the softened cream cheese with an electric mixer until creamy.
- Add the granulated sugar and vanilla extract to the cream cheese, beating until smooth.
- Add the eggs one at a time, mixing well after each addition. Finally, add the sour cream and mix until combined.
- Pour the cheesecake filling over the cooled Rice Krispie crust and smooth the top.
- Bake in the preheated oven for 10 minutes. Turn off the oven and leave the cheesecake inside for an additional 30 minutes. This helps prevent cracking.
- Remove the cheesecake from the oven and allow it to cool to room temperature. Refrigerate for at least 4 hours or overnight to set.
- Before serving, whip the heavy cream with the powdered sugar until stiff peaks form. Spread or pipe the whipped cream over the chilled cheesecake.
- Garnish the top with the additional 1 cup of Rice Krispies cereal for added crunch.
- Slice and serve chilled.