Easy Homemade Dinner Rolls: Simple Recipe & Tips for Success
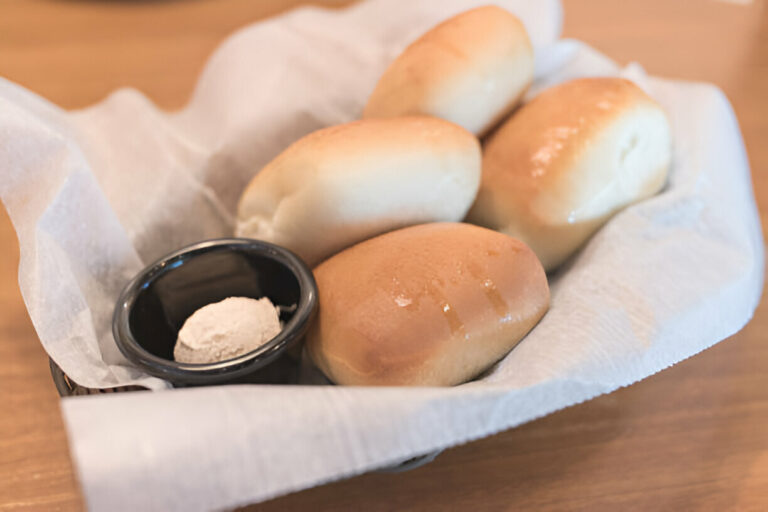
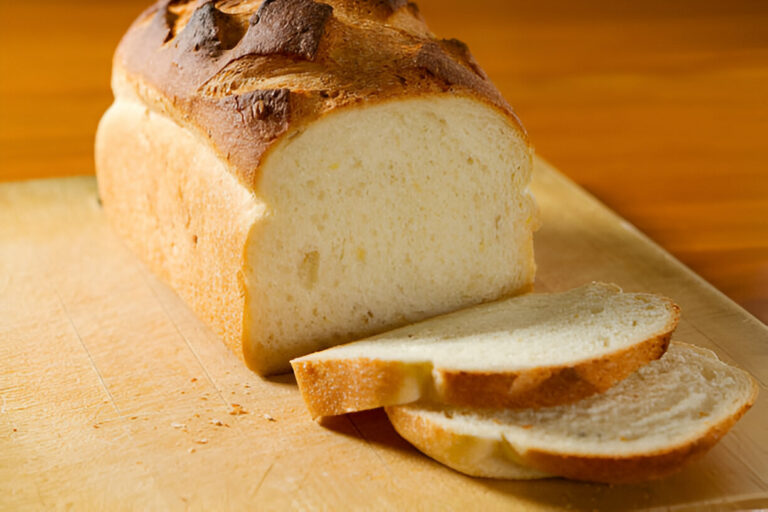
Dinner rolls have long held a cherished place at mealtime, accompanying family dinners, holiday feasts, and gatherings with friends. These soft, pillowy breads not only complement a variety of dishes but also serve as a comforting touch that brings people together. Whether they are served warm with butter melting into every crevice or used to mop up flavorful soups and gravies, dinner rolls are an essential component of the dining experience that can elevate any meal.
While store-bought rolls may offer convenience, the appeal of homemade dinner rolls far surpasses their pre-packaged counterparts. Homemade rolls provide an unmatched freshness, allowing the warm aroma of baking bread to waft through your home, creating a cozy atmosphere. The satisfaction that comes with crafting your own rolls cannot be underestimated; every bite reflects your passion for cooking and your investment in quality ingredients. Plus, making dinner rolls from scratch is often simpler than it appears, requiring just a handful of basic ingredients and a bit of patience.
This guide will walk you through the process of creating easy homemade dinner rolls that are both delicious and satisfying to make. With straightforward instructions and tips for success, you’ll soon be enjoying soft, warm rolls baked right in your own kitchen, ready to share with family and friends.
Why Choose Homemade Dinner Rolls?
When it comes to dinner rolls, nothing quite compares to the taste and warmth of a homemade version. While store-bought rolls can save time, they often lack the character and depth of flavor that fresh, homemade rolls possess. One of the primary advantages of making dinner rolls from scratch is the incredible freshness they offer. As soon as you take them out of the oven, the aroma fills your kitchen, creating an inviting environment that pre-packaged rolls simply cannot replicate. Store-bought options often include preservatives to extend shelf life, which can dull the taste and texture.
Moreover, homemade rolls allow for a higher enhancement of flavors through the use of quality ingredients. You can choose freshly milled flour, organic butter, and other natural components, ensuring that each bite is bursting with rich, comforting flavors. The ability to adjust spices, herbs, or even add cheeses opens a world of possibilities that store-bought rolls can’t match.
Another significant advantage of homemade rolls is their customization potential. From the moment you decide to bake, you can incorporate various ingredients to tailor them to your family’s preferences. Feel free to experiment with different flavors, whether it’s savory additions like garlic and rosemary, or sweeter touches like cinnamon and sugar. Additionally, if you or your loved ones have dietary restrictions, creating a gluten-free version or opting for whole-grain flour is entirely feasible when you prepare these rolls in your own kitchen.
Lastly, homemade dinner rolls can be remarkably cost-effective. With a breakdown of the costs, you’ll often find that the ingredients required for a batch of dinner rolls are less expensive than purchasing a similar quantity of store-bought options. In addition, making them at home gives you the freedom to make larger batches that can feed a crowd, providing a rich experience without breaking the bank.
Ingredients for Easy Homemade Dinner Rolls
The beauty of easy homemade dinner rolls lies in the simplicity of the ingredients. Most of what you need can be found in your pantry and refrigerator, making this recipe accessible and straightforward. Here’s a look at the essential ingredients you’ll need:
- Flour: The backbone of your dough. You can use either all-purpose flour for a soft, light roll or bread flour for a chewier texture with more structure due to its higher protein content.
- Yeast: Key to making the rolls rise. You can use instant yeast for a quicker process, or active dry yeast, which requires activation in warm water before use.
- Sugar: Plays a dual role in flavor and fermentation. It helps activate the yeast and adds a hint of sweetness to your rolls.
- Salt: Essential for flavor and strength in the dough. Salt regulates yeast activity, ensuring your rolls rise perfectly and have a balanced taste.
- Butter: Adds richness and a lovely flavor to the rolls, contributing to their tender texture.
- Milk: Enhances both the texture and flavor of your dinner rolls. It can be used warm to help activate the yeast and create a soft crumb.
In addition to these essential ingredients, you have the option to include optional ingredients to elevate your rolls further. Consider adding fresh or dried herbs, cheeses, or additional spices to create a unique flavor profile. If dietary needs are a consideration, alternative flours like gluten-free blends can ensure everyone can enjoy these delightful rolls. By choosing ingredients thoughtfully, you can create dinner rolls that are both satisfying and adaptable to your preferences.
Equipment Needed
To create your easy homemade dinner rolls, it’s essential to have the right equipment on hand. While you can certainly bake rolls without specialized tools, having a few basic items will make the process smoother and more enjoyable. Here’s what you’ll need:
Basic Baking Equipment
- Mixing bowls: A large bowl for mixing your dough and a smaller one for proofing the yeast.
- Measuring cups and spoons: Accurate measurements are crucial for baking success.
- Baking sheets and parchment paper: To provide a non-stick surface for your rolls.
- Kitchen towel or plastic wrap: Used to cover the dough while it rises, preventing it from drying out.
- Stand mixer (optional): A handy tool for mixing and kneading if you prefer not to do it by hand.
Recommended Tools for Precision
- Thermometer: Helpful for ensuring the water is at the right temperature for yeast activation.
- Dough scraper: Useful for kneading and cutting the dough.
Step-by-Step Recipe for Easy Homemade Dinner Rolls
Ingredients List
- 4 cups all-purpose flour (or bread flour)
- 2 packets (4 ½ teaspoons) instant yeast or active dry yeast
- ¼ cup sugar
- 1 teaspoon salt
- ½ cup (1 stick) unsalted butter, melted
- 1 cup milk, warmed
- 1 large egg
Directions
1. Activate the Yeast: If you’re using active dry yeast, start by dissolving the yeast in warm milk (about 110°F/43°C) with a pinch of sugar. Let it sit for about 5-10 minutes until it’s foamy. For instant yeast, you can skip this step and mix it directly with the dry ingredients.
2. Mix the Dough: In a large mixing bowl or the bowl of a stand mixer, combine 2 cups of flour, instant yeast, sugar, and salt. Add the warm milk, melted butter, and egg, mixing until well incorporated.
3. Knead the Dough: Gradually add the remaining flour until the dough comes together. Knead for about 5-7 minutes on a floured surface or with a dough hook if using a mixer, until the dough is smooth and elastic.
4. First Rise: Place the dough in a lightly greased bowl, cover it with a kitchen towel or plastic wrap, and let it rise in a warm place until it doubles in size, about 1-2 hours.
5. Shape the Rolls: Once risen, punch down the dough and turn it out onto a floured surface. Divide the dough into 12 equal pieces and shape each piece into a smooth ball. Place them in a greased 9×13-inch baking pan or on a baking sheet lined with parchment paper.
6. Second Rise: Cover the rolls with a towel and allow them to rise again until doubled, approximately 30-60 minutes.
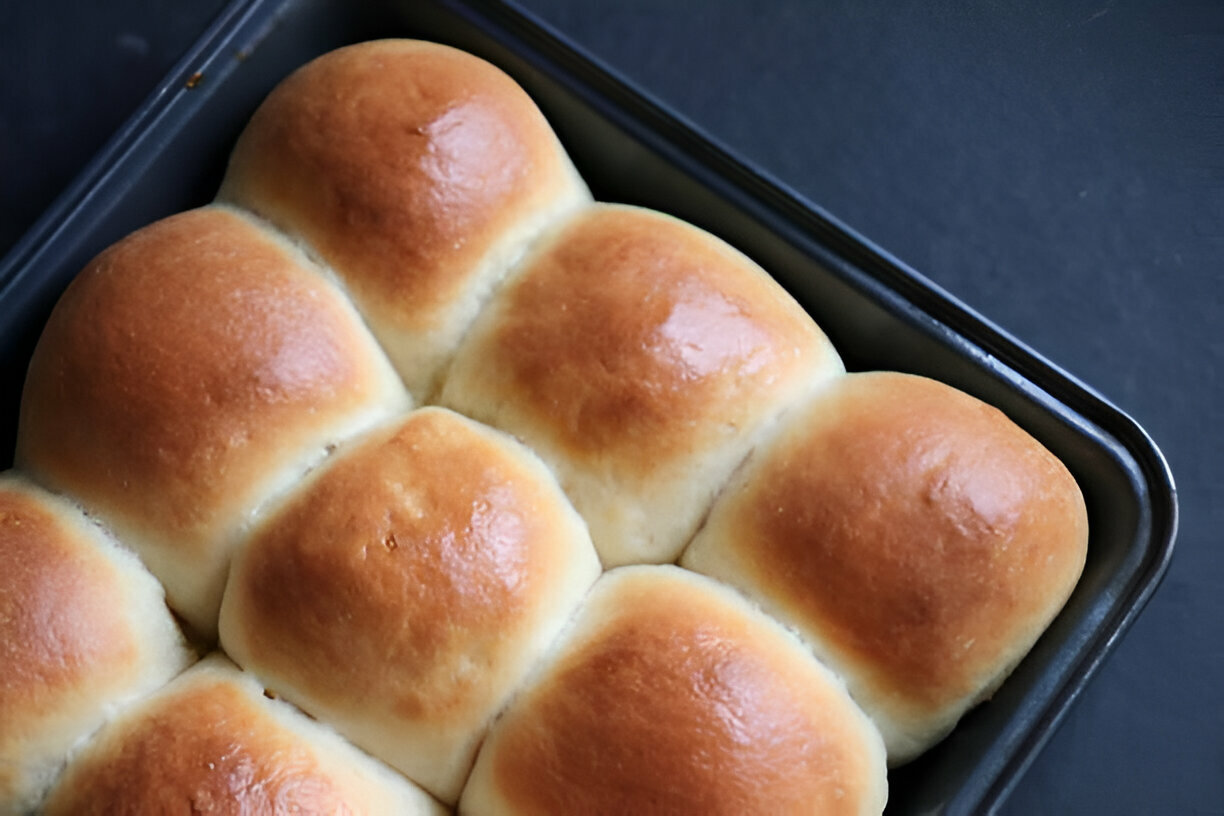
7. Baking: Preheat your oven to 350°F (175°C). Bake the rolls for about 20-25 minutes or until golden brown on top. You can also rotate the pan halfway through for even baking.
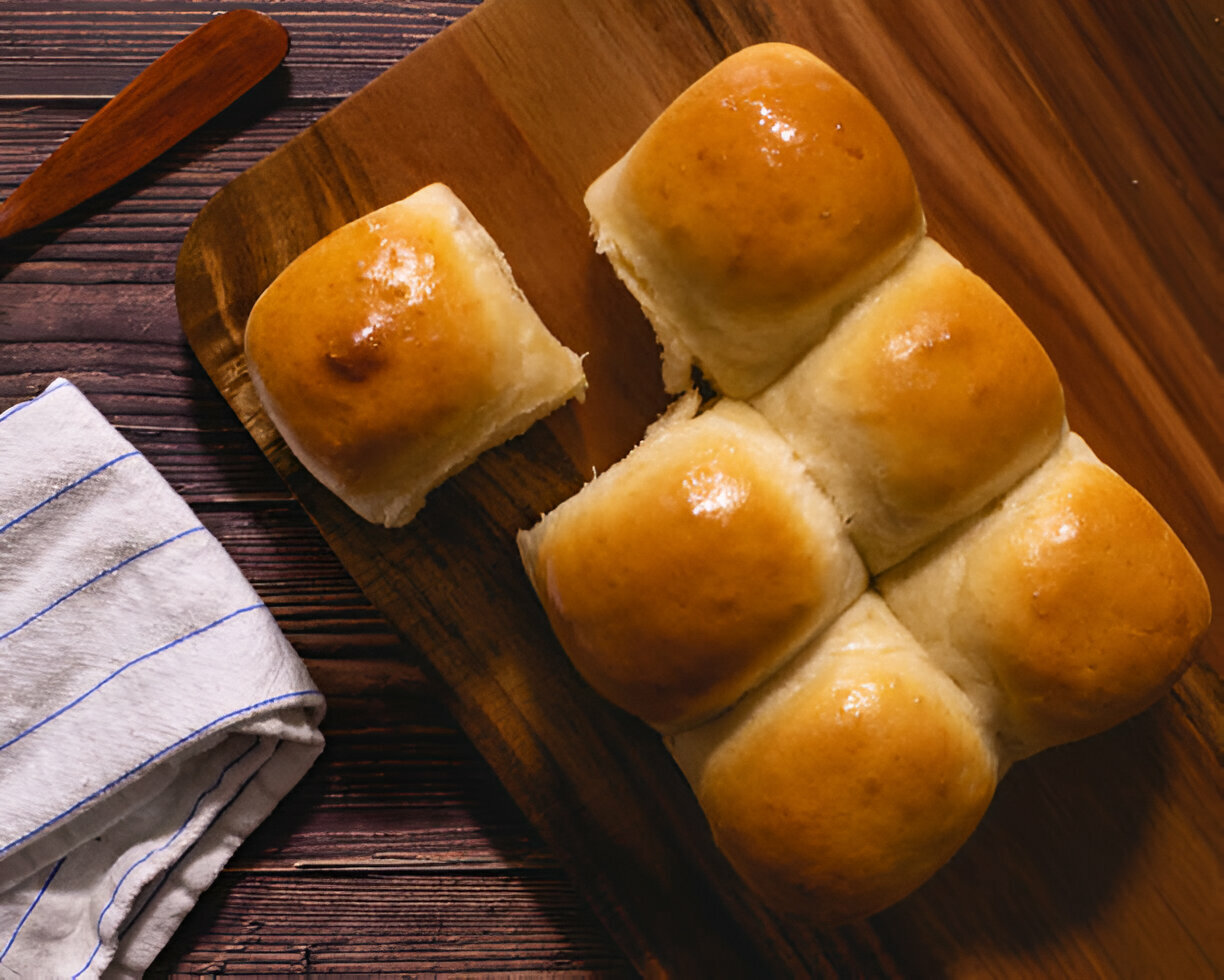
8. Finishing Touches: Once out of the oven, brush the rolls with melted butter for a glossy finish. Allow them to cool slightly before serving warm.
Tips for Success
Pay attention to the temperature of your dough; it should be warm and slightly tacky but not overly sticky. To ensure perfect rolls, keep an eye on them while baking; they are done when they are golden brown and sound hollow when tapped on the bottom.
Variations on the Classic Recipe
Garlic Herb Dinner Rolls
To create these flavorful rolls, simply incorporate 2-3 crushed garlic cloves and 1 tablespoon of your preferred fresh herbs (like rosemary or thyme) into the dough during the mixing process. Brush with garlic-infused butter before serving for an extra kick.
Cheesy Dinner Rolls
Add 1 cup of shredded cheese such as cheddar or mozzarella into the dough during mixing. For a cheesy topping, sprinkle cheese on top of the rolls during the last few minutes of baking.
Sweet Rolls
For a delightful twist, include ½ cup of sugar and 1 teaspoon of cinnamon in the dough. After shaping the rolls, you can roll them in cinnamon sugar before the second rise for a deliciously sweet experience.
Common Mistakes and How to Avoid Them
Not Allowing Adequate Rising
One of the most significant issues in baking is rushing the rising process. Always allow your dough to rise until it has doubled in size, as this is essential for achieving fluffy rolls. A warm, draft-free location is ideal for proofing.
Over/Under Kneading
Kneading is crucial for gluten development. Under-kneaded dough will lack structure and rise properly, while over-kneaded dough can become tough. Aim for a smooth and elastic texture—test by stretching a small piece of dough; it should stretch without breaking.
Incorrect Oven Temperature
Oven temperatures can vary, affecting baking times. Always preheat your oven accurately, and consider using an oven thermometer to ensure it’s at the right temperature before baking your rolls.
Serving Suggestions
Accompaniments
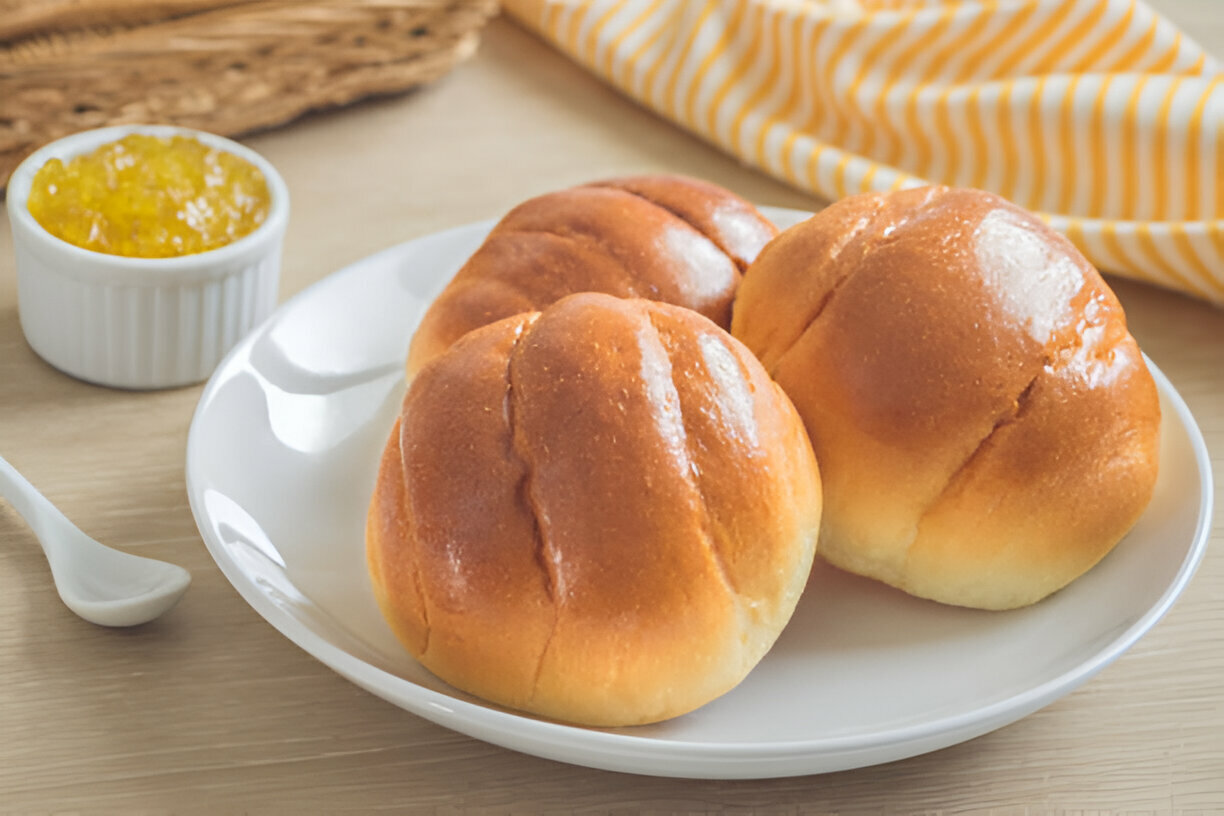
Homemade dinner rolls pair wonderfully with a variety of dishes. They are perfect alongside hearty soups, stews, and roasts. Consider serving them with flavored butters, jams, or dips for added flavor.
Storage Tips
To maintain freshness, store leftover dinner rolls in an airtight container at room temperature for up to 2 days. For longer storage, freeze the rolls in a zip-top bag, and reheat them in the oven or microwave before serving to restore their soft texture.
FAQs
How long will homemade dinner rolls last?
Homemade dinner rolls typically last about 2-3 days at room temperature when stored properly. For extended freshness, consider freezing them.
Can I freeze homemade dinner rolls?
Yes, you can freeze homemade rolls. Allow them to cool completely, then place them in a freezer bag. They can stay frozen for up to three months. Thaw them in the refrigerator overnight before reheating.
What is the best way to reheat dinner rolls?
The best way to reheat dinner rolls is to preheat your oven to 350°F (175°C) and place them on a baking sheet for about 10-15 minutes until warm. You can cover them with foil to retain moisture.
Can I make the dough ahead of time?
Yes, you can prepare the dough the day before and refrigerate it after the first rise. Allow the dough to come to room temperature and proceed with shaping and the second rise before baking.
Conclusion
Making easy homemade dinner rolls is a rewarding experience that brings warmth and comfort to any meal. With simple ingredients and straightforward steps, you can create rolls that are not only delicious but also a source of joy for your family and friends. Give this recipe a try, and enjoy the magic of freshly baked rolls at your table.
Easy Homemade Dinner Rolls
Equipment
- 1 mixing bowl
- 1 measuring cups and spoons
- 1 wooden spoon or spatula
- 1 clean kitchen towel
- 1 baking sheet
- 1 parchment paper (optional)
- 1 oven
Ingredients
- 4 cups all-purpose flour
- 2 tablespoons granulated sugar
- 1 tablespoon instant yeast
- 1 teaspoon salt
- 1/4 cup unsalted butter, melted
- 1 1/2 cups warm milk Around 110°F or 43°C
- 1 large egg Room temperature
Instructions
- In a large mixing bowl, combine the flour, sugar, instant yeast, and salt. Stir to mix well.
- In a separate bowl, whisk together the warm milk, melted butter, and egg until well combined.
- Gradually add the wet ingredients to the dry ingredients, stirring with a wooden spoon or spatula until a dough begins to form.
- Knead the dough on a lightly floured surface for about 5-7 minutes until it is smooth and elastic. If the dough is sticky, you can add a little more flour as needed.
- Shape the dough into a ball and place it in a lightly greased bowl. Cover with a clean kitchen towel and let it rise in a warm place for about 1 hour, or until it has doubled in size.
- Preheat the oven to 375°F (190°C).
- Once the dough has risen, punch it down to release any air bubbles and divide it into 12 equal portions.
- Shape each portion into a small ball and place them on a baking sheet lined with parchment paper, or directly on the greased baking sheet.
- Cover the rolls again with the kitchen towel and let them rise for another 30 minutes.
- Bake in the preheated oven for 15 minutes, or until golden brown. If desired, brush the tops with melted butter right after baking for extra flavor.
- Remove from the oven and let cool slightly before serving.