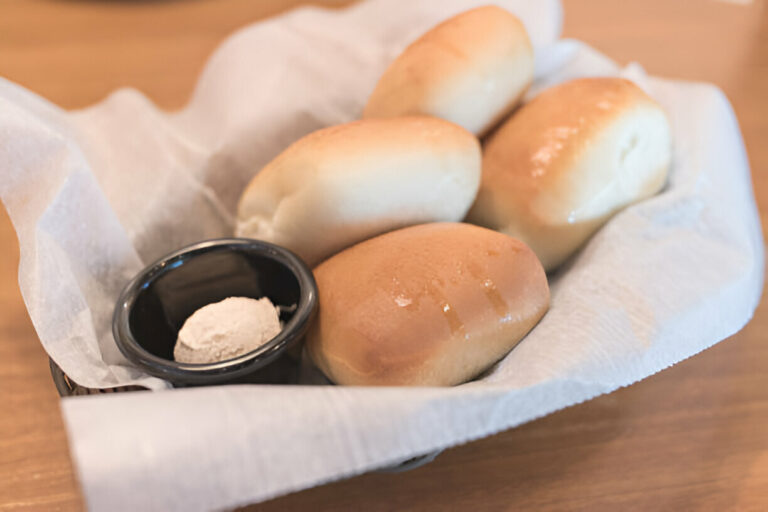
Delicious Amish Dinner Rolls Recipe and Traditions Explained
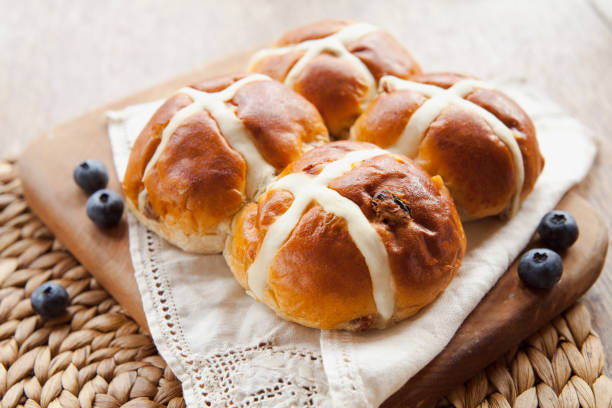
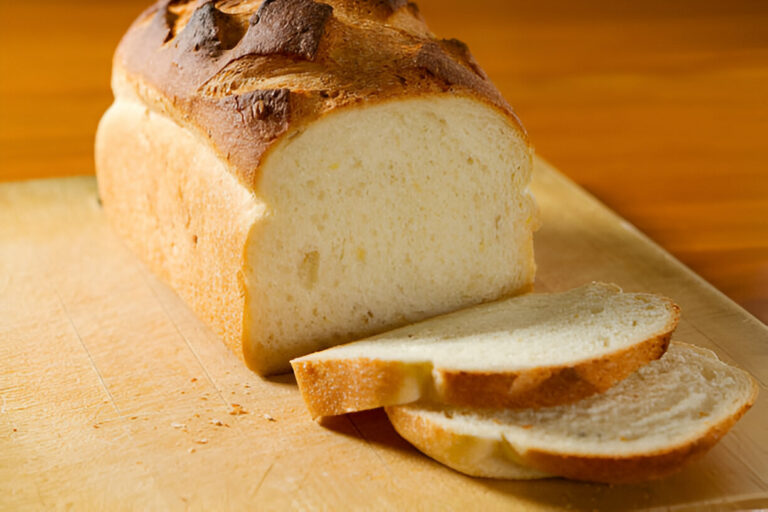
Amish Dinner Rolls are a beloved staple in many households, celebrated for their light, fluffy texture and rich, buttery flavor. These rolls are not only a culinary delight but also a symbol of Amish culture, where homemade food is an integral part of family and community life. With their origins deeply rooted in Amish traditions, these rolls have been passed down through generations, reflecting the values of simplicity, hospitality, and communal sharing that characterize Amish life.
Historically, the Amish have emphasized the importance of home-cooked meals, where food is often made from scratch using locally sourced ingredients. Dinner rolls hold a special place at the table during family gatherings, Sunday meals, and holiday celebrations, showcasing the Amish commitment to nourishing their loved ones. Over time, the popularity of Amish Dinner Rolls has transcended cultural boundaries, finding a cherished spot in many modern kitchens. Their appeal lies in their versatility; they complement a wide variety of dishes and are often featured at potlucks, family reunions, and festive occasions.
In the contemporary culinary landscape, the tradition of making Amish Dinner Rolls has gained renewed interest, with home bakers eager to try their hand at this classic recipe. Whether served warm with butter at dinner or enjoyed as a snack, these rolls offer a taste of comfort and simplicity that resonates with people across different cultures. As you delve into the world of Amish Dinner Rolls, you’ll discover not just a recipe but a connection to a rich history and a way to bring joy to your own dining experiences.
Ingredients
To create the delightful texture and flavor of Amish Dinner Rolls, you will need a few essential ingredients. These components come together to form the perfect dough that rises beautifully and results in soft, fluffy rolls. Here’s what you will need:
- All-purpose flour: Provides the structure for the rolls.
- Sugar: Adds sweetness and helps activate the yeast.
- Active dry yeast: The leavening agent that makes the rolls rise.
- Milk: Adds richness and moisture to the dough.
- Eggs: Contributes to the richness and provides structure.
- Butter: Enhances flavor and adds a tender crumb.
- Salt: Balances the sweetness and enhances overall flavor.
When selecting your ingredients, opt for high-quality options whenever possible. For instance, using fresh yeast ensures better rising power, while whole milk can add extra richness to the rolls. If you’re looking for substitutions, you can use honey instead of sugar, or milk alternatives for a dairy-free version. Additionally, feel free to experiment with common variations like adding herbs or minced garlic to the dough for extra flavor.
Recipe for Amish Dinner Rolls
This section will guide you through making your own Amish Dinner Rolls from scratch, broken down into clear steps to ensure a successful baking experience.
Preparing the Dough
The first step to achieving the iconic light and fluffy Amish Dinner Rolls is properly preparing the dough. Follow these detailed instructions:
- Activating the Yeast:
In a small bowl, combine warm milk (around 110°F), 1 tablespoon of sugar, and 2 teaspoons of active dry yeast. Stir gently and allow the mixture to sit for about 5 to 10 minutes until it becomes frothy. - Mixing Ingredients:
In a large mixing bowl, add 4 cups of all-purpose flour, 2 large eggs, and 1/4 cup of melted butter to the activated yeast mixture. Mix until a dough forms and knead it by hand or with a dough hook for about 5 to 7 minutes until it is smooth and elastic. - First Rise:
Place the dough in a greased bowl, cover it with a clean kitchen towel, and let it rise in a warm place until it doubles in size, which usually takes about 1 to 2 hours.
Shaping the Rolls
Once the dough has risen, it’s time to shape the rolls into the desired forms.
- Dividing the Dough:
Punch down the risen dough to release the air, then turn it out onto a floured surface. Use a bench scraper to divide it into equal portions, typically around 12-16 pieces, depending on your preferred roll size. - Shaping Techniques:
Take each portion and gently stretch it into a smooth ball by tucking the edges underneath. You can also create traditional shapes like crescent rolls by rolling the dough into a triangle and rolling it up. - Second Rise:
Arrange the shaped rolls on a greased baking sheet or in a baking dish, leaving space between each roll. Cover them with a kitchen towel and let them rise again until they are puffy, about 30 to 45 minutes.
Baking the Rolls
Baking is where the magic happens, transforming your dough into delicious, fluffy rolls.
- Preheating the Oven:
Preheat your oven to 350°F (175°C) to ensure even baking. - Baking Time and Testing for Doneness:
Bake the rolls for about 15-20 minutes, or until they are golden brown on top. You can check for doneness by tapping the bottom of a roll; it should sound hollow. An internal temperature of about 190°F (88°C) indicates they are fully baked. - Optional Toppings:
For an extra touch, brush the tops of the rolls with melted butter immediately after pulling them from the oven and sprinkle with herbs if desired.
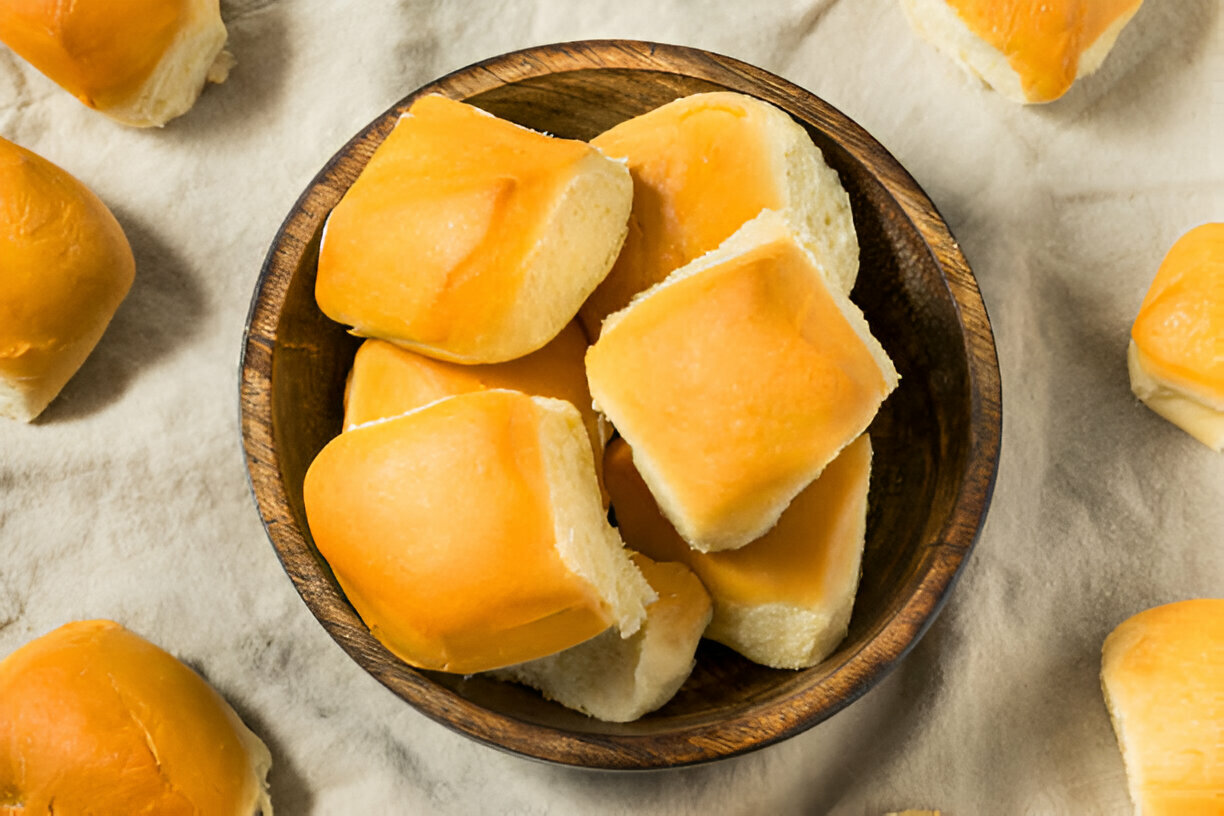
Cooling and Storing
Allow the rolls to cool on a wire rack for about 10–15 minutes before serving. To store leftovers, keep the rolls in an airtight container at room temperature for up to 2 days. For longer storage, they can be frozen. Wrap them tightly in plastic wrap and place them in a freezer bag. To reheat, simply thaw at room temperature and warm them in the oven again for a few minutes to regain their soft texture.
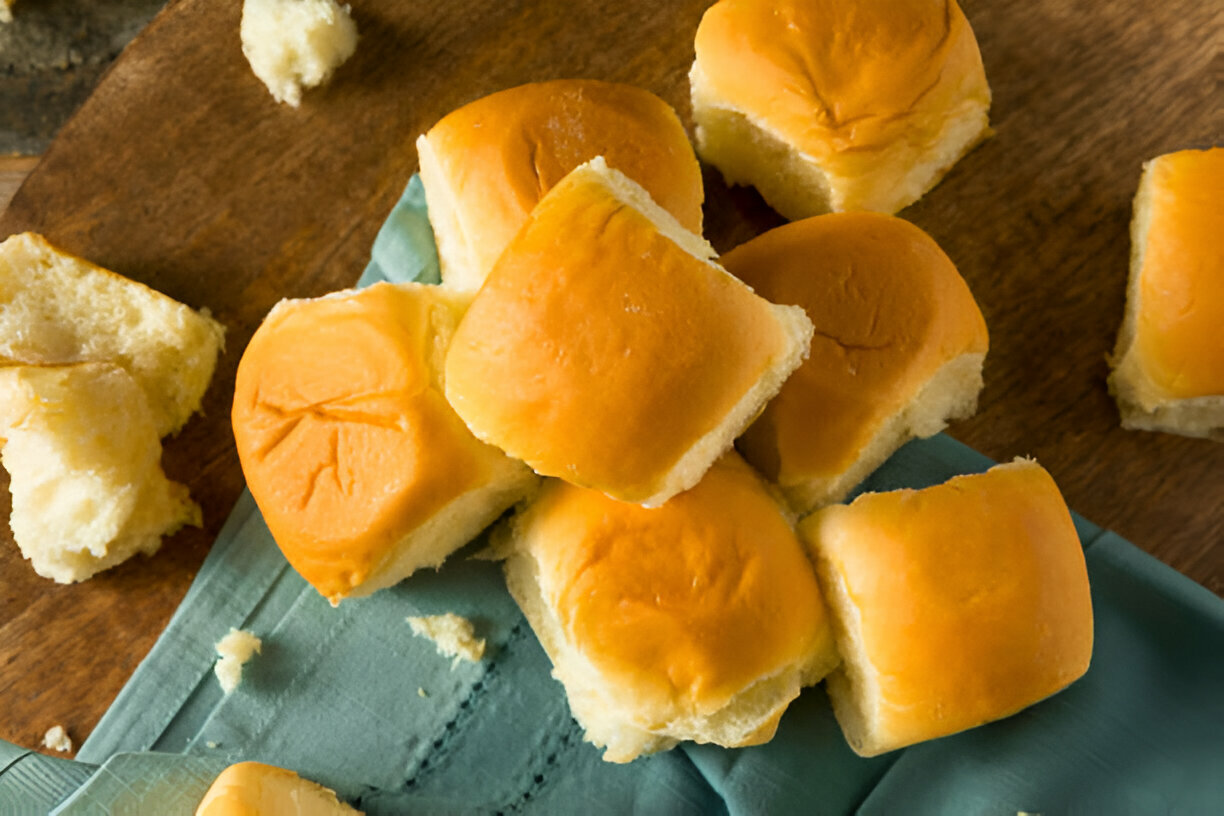
The Tradition of Amish Dinner Rolls
Amish Dinner Rolls are not just food; they embody the Amish way of life, reflecting the values of community and family. In Amish culture, meals are often a time for gathering, sharing stories, and enjoying the company of loved ones. Homemade bread, especially rolls, has a distinctive place at the table, appearing during family gatherings, Sunday meals, and special holidays.
The act of making these rolls is commonly associated with familial bonding, where generations come together in the kitchen to pass down the recipe and techniques. Each region within the Amish community may have its variations of these rolls, incorporating local ingredients or unique methods that reflect their heritage.
Every roll baked symbolizes not just nourishment but also the warmth of hospitality, making them a beloved treat at community potlucks and celebrations. The tradition of sharing these rolls embodies the essence of communal life, enhancing the sense of togetherness that is so ingrained in Amish culture.
Tips for Perfecting Your Rolls
To achieve the best results with your Amish Dinner Rolls, consider the following tips:
- Recommended Equipment: Use high-quality mixing bowls, measuring cups, and a kitchen scale for accurate ingredient measurements.
- Common Mistakes: Avoid over-kneading the dough as it can lead to tough rolls. Ensure the dough rises in a warm environment, as cold conditions can hinder yeast activity.
- Flavor Enhancements: Experiment with adding fresh herbs, like rosemary or thyme, or even minced garlic to the dough for a unique twist that enhances flavor.
FAQs About Amish Dinner Rolls
Here are some frequently asked questions regarding Amish Dinner Rolls:
Why are Amish Dinner Rolls so popular?
Amish Dinner Rolls are celebrated for their delectable flavor, soft texture, and versatility. They pair well with a wide variety of dishes, making them a favorite at both casual meals and formal gatherings.
Can I make Amish Dinner Rolls ahead of time?
Absolutely! You can prepare the dough ahead of time and refrigerate it after the first rise. Just remember to bring it to room temperature before shaping and proceeding with the second rise.
What is the difference between Amish Dinner Rolls and other dinner rolls?
The primary distinction lies in the ingredients and preparation techniques. Amish Dinner Rolls often have a richer flavor due to the use of milk and butter, resulting in a tender crumb and a light texture compared to other rolls.
Can I freeze Amish Dinner Rolls?
Yes, these rolls freeze beautifully. After baking, let them cool completely, then wrap them tightly in plastic wrap and freeze. When you want to enjoy them, thaw at room temperature and warm them in the oven.
Are there any gluten-free versions of Amish Dinner Rolls?
Yes, gluten-free flour alternatives can be used to create a gluten-free version of these rolls. Look for a gluten-free all-purpose flour blend that contains xanthan gum for better structure and texture.
Amish Dinner Rolls
Equipment
- 1 mixing bowl
- 1 measuring cups and spoons
- 1 whisk
- 1 stand mixer or wooden spoon
- 1 dough scraper optional
- 1 baking sheet
- 1 parchment paper optional
- 1 clean kitchen towel
Ingredients
- 4 cups all-purpose flour
- 1/4 cup granulated sugar
- 1 packet active dry yeast (2 1/4 teaspoons)
- 1 teaspoon salt
- 1/4 cup unsalted butter melted
- 1 cup warm milk (240 milliliters)
- 2 large eggs
- Extra for brushing melted butter optional
Instructions
- In a small bowl, combine the warm milk and sugar. Sprinkle the yeast over the top and let it sit for about 5-10 minutes until frothy.
- In a large mixing bowl, whisk together the flour and salt.
- Once the yeast mixture is frothy, add it to the flour mixture along with the melted butter and eggs. Mix until the dough starts to come together.
- If using a stand mixer, fit it with a dough hook and knead on low speed for about 5-7 minutes until the dough is smooth and elastic. If kneading by hand, turn the dough out onto a floured surface and knead for about 8-10 minutes.
- Place the dough in a lightly greased bowl, cover it with a clean kitchen towel, and let it rise in a warm place until doubled in size, about 1 hour.
- After the dough has risen, punch it down and divide it into 12 equal pieces. Roll each piece into a ball and place them on a baking sheet lined with parchment paper or greased.
- Cover the rolls with the kitchen towel and let them rise again for about 30 minutes, until puffed.
- Preheat your oven to 350°F (175°C). Bake the rolls for 15-20 minutes, or until golden brown.
- Remove the rolls from the oven and brush the tops with melted butter if desired. Let them cool slightly before serving.