Delicious Chocolate Snowball Cookies: Easy Recipe & Tips
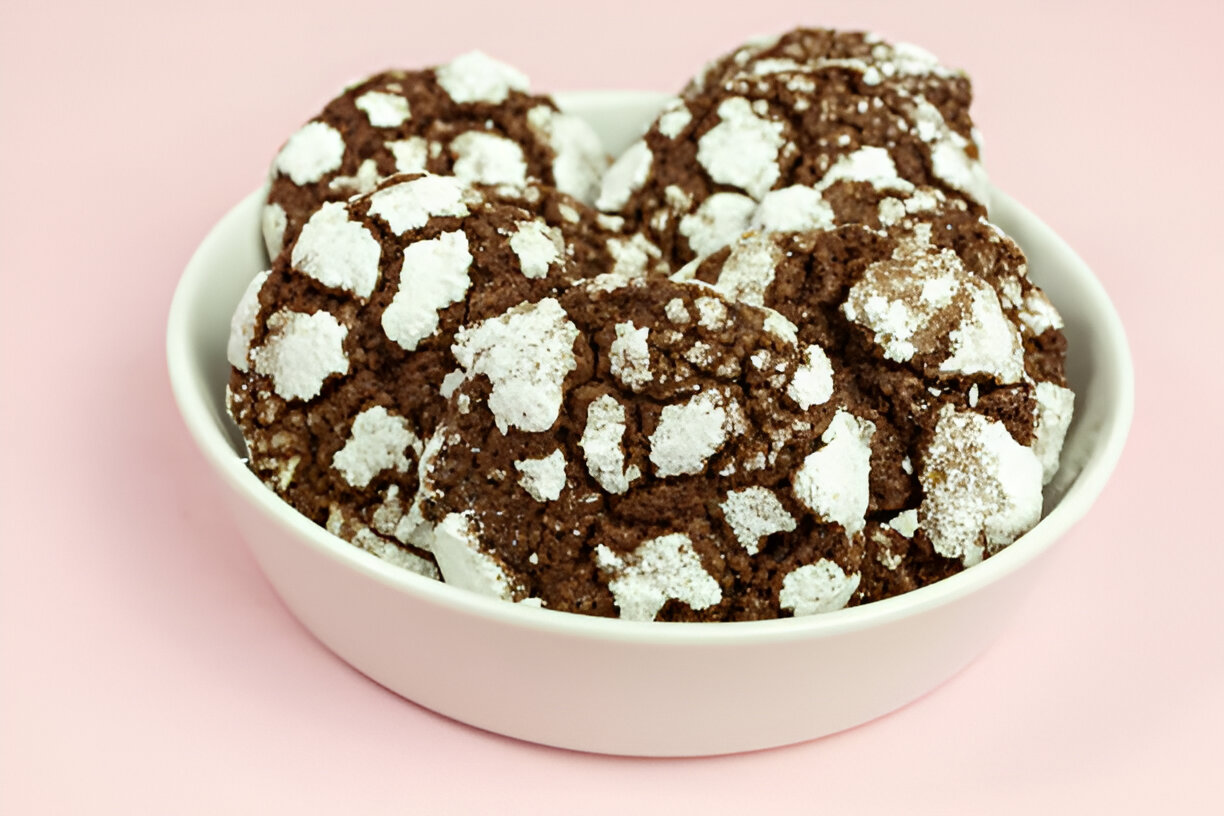
Chocolate Snowball Cookies are a delightful treat that combines the rich, decadent flavor of chocolate with the light, crumbly texture reminiscent of traditional snowball cookies. Often rolled in powdered sugar, these cookies not only look stunning but also offer an irresistible taste that can brighten any occasion. Their unique blend of chocolate and sweetness makes them a perfect choice for holiday celebrations, special gatherings, or simply to satisfy a sweet tooth.
These cookies have gained immense popularity for their festive aesthetics and taste, becoming a staple on dessert tables during the holiday season. Whether you’re enjoying them at a family gathering, sharing them with friends, or indulging as a personal treat, Chocolate Snowball Cookies bring joy and comfort with every bite. The robust chocolate flavor harmonizes beautifully with the powdery, snowy exterior, making them visually appealing and utterly delicious.
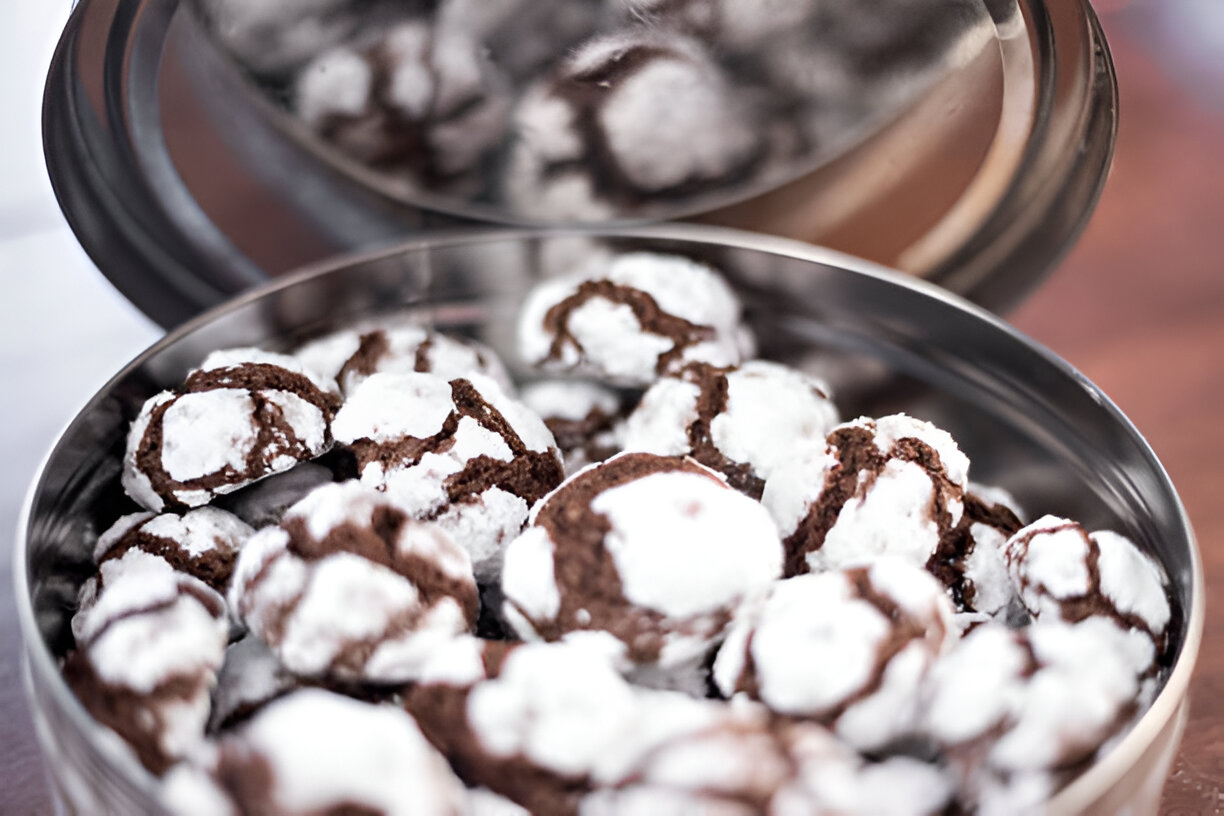
1. What Are Chocolate Snowball Cookies?
Chocolate Snowball Cookies are a delicious twist on the classic snowball cookie. These delightful treats are known for their round shape and their unique combination of buttery, crumbly textures infused with rich cocoa flavor. Unlike traditional versions that are often made with nuts and a simple vanilla dough, the chocolate variant elevates the taste profile, making it irresistibly decadent. The contrast of the dark chocolate with the snowy white powdered sugar outer layer creates a visually stunning and tempting dessert that appeals to chocolate lovers everywhere.
1.1 Definition and Description
Snowball cookies, also known as Mexican wedding cookies or Russian tea cakes, are traditional bite-sized confections that are typically made with flour, nuts, and powdered sugar. The cookie dough is rolled into small balls before baking, resulting in a crumbly texture that melts in your mouth. When chocolate is added to the mix, these cookies take on a deeper flavor, transforming them into Chocolate Snowball Cookies that provide a satisfying experience for your palate.
1.2 Origin and History
The origins of snowball cookies can be traced back to various cultures, with variations found in different regions around the world. Their history is rich, with many believing these cookies have roots in Middle Eastern cuisine. The chocolate version gained popularity in recent years and has become a beloved choice for festive occasions. As baking techniques evolved, home bakers began experimenting with adding cocoa powder, resulting in the luscious Chocolate Snowball Cookies that are now a staple on holiday dessert tables.
2. Ingredients You Will Need
To create the perfect Chocolate Snowball Cookies, you will need a few essential ingredients that combine to provide both flavor and texture. Here’s a breakdown of what you’ll need:
2.1 Main Ingredients
- All-Purpose Flour: This is the base ingredient that provides structure.
- Unsweetened Cocoa Powder: Gives the cookies their rich chocolate flavor.
- Unsalted Butter: Adds richness and helps create a tender texture.
- Powdered Sugar: Sweetens the dough and is used for rolling after baking.
- Vanilla Extract: Enhances the flavor of the cookies.
- Pinch of Salt: Balances the sweetness and enhances the overall flavor.
2.2 Optional Add-Ins
While the traditional recipe is delightful on its own, consider these optional add-ins to customize your Chocolate Snowball Cookies:
- Nuts: Chopped walnuts or pecans add a crunchy texture.
- Chocolate Chips: For an extra burst of chocolate flavor.
- Coconut: Flaked coconut can add an exotic taste and texture.
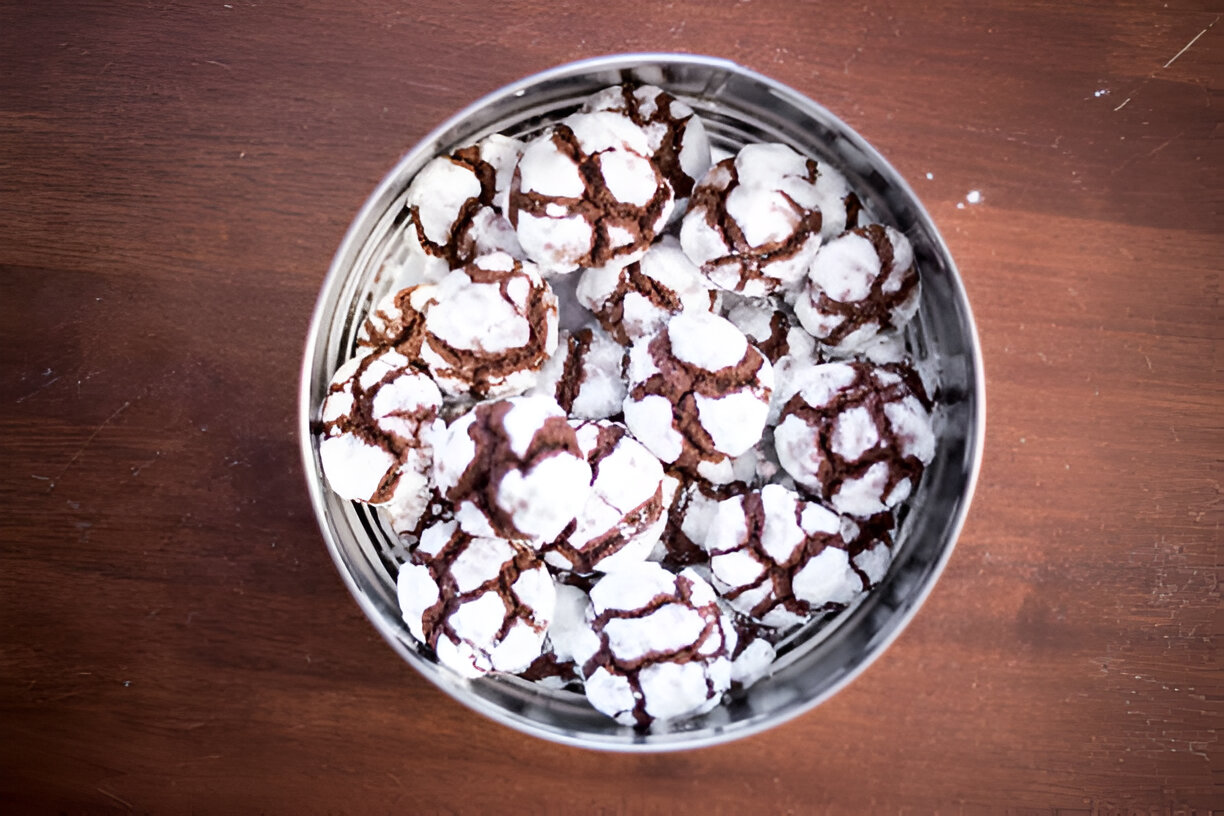
3. Detailed Recipe for Chocolate Snowball Cookies
3.1 Ingredients List
- 1 cup unsalted butter: Softened to room temperature.
- 1/2 cup powdered sugar: For sweetness and rolling.
- 1 teaspoon vanilla extract: For added flavor.
- 1 and 3/4 cups all-purpose flour: Provides structure.
- 1/2 cup unsweetened cocoa powder: For the rich chocolate taste.
- 1/2 cup chopped nuts (optional): Walnuts or pecans for added crunch.
- Pinch of salt: To enhance the flavors.
- Powdered sugar for rolling: To coat the cookies after baking.
Preparation Time: 20 minutes
Baking Time: 12-15 minutes
Yield: 24 cookies
3.2 Directions
- Preheat the Oven: Set to 350°F (175°C).
- Prepare Baking Sheet: Line it with parchment paper to prevent sticking.
- Cream the Butter and Sugar: In a large bowl, cream the softened butter and powdered sugar together until fluffy and light.
- Add Vanilla and Mix: Stir in the vanilla extract until well combined.
- Incorporate Dry Ingredients: Gradually mix in the all-purpose flour, cocoa powder, and a pinch of salt until a dough forms.
- Add Nuts (Optional): If desired, fold in the chopped nuts.
- Form the Cookies: Scoop the dough and roll into small balls (about 1 inch in diameter).
- Bake the Cookies: Place the dough balls on the prepared baking sheet, leaving space in between. Bake for 12-15 minutes until set.
- Cool and Roll in Powdered Sugar: Allow the cookies to cool on the baking sheet for a few minutes before rolling in powdered sugar to coat.
3.3 Baking Tips and Advice
- For the Perfect Texture: Make sure not to overmix the dough after adding the dry ingredients; this helps maintain a crumbly texture.
- Substitutions: For gluten-free cookies, consider using a gluten-free all-purpose flour blend. For a vegan option, substitute butter with a plant-based alternative and use flax eggs instead of regular eggs.
4. Popular Variations of Chocolate Snowball Cookies
4.1 Classic Chocolate Snowball Cookies
The traditional version of Chocolate Snowball Cookies features a rich cocoa flavor complemented by the snowy coating of powdered sugar. This classic recipe remains popular for its simplicity and delicious taste.
4.2 Nut Variations
Experimenting with different nut varieties such as walnuts or pecans not only adds texture but also enhances the flavor of these cookies. You can toast the nuts beforehand for an added depth of flavor.
4.3 Chocolate Chip Variation
For a double chocolate experience, add chocolate chips to the dough. This enhances the chocolate flavor and adds a delightful surprise in every bite.
4.4 Flavor Twists
Consider adding flavor twists like a hint of peppermint extract for a festive touch, or espresso powder for a rich, coffee-like undertone. These variations can customize your cookies for any occasion.
5. How to Store and Freeze Chocolate Snowball Cookies
5.1 Storing at Room Temperature
Store your Chocolate Snowball Cookies in an airtight container at room temperature. They will stay fresh for up to a week, maintaining their crumbly texture and delightful taste.
5.2 Freezing Cookies
You can freeze both baked and unbaked Chocolate Snowball Cookies. To freeze baked cookies, place them in a single layer on a baking sheet, freeze until solid, and then transfer to a freezer bag. For unbaked cookies, roll them into balls and freeze before baking; they can be cooked directly from the freezer.
5.3 Thawing Techniques
To achieve the best texture after freezing, allow baked cookies to thaw at room temperature for a few hours before serving. For unbaked cookies, you can bake them straight from the freezer; simply add an extra minute or two to the baking time.
6. Serving Ideas and Pairings
6.1 Perfect Occasion Ideas
Chocolate Snowball Cookies are ideal for holiday gatherings, office parties, and family celebrations. Their festive appearance and delicious taste make them a welcome addition to any dessert table.
6.2 Beverage Pairings
Pair these cookies with a warm beverage like coffee, hot cocoa, or a glass of milk. The combination enhances the chocolate flavor and makes for a comforting treat.
7. FAQs About Chocolate Snowball Cookies
7.1 What is the difference between snowball cookies and other types of cookies?
Snowball cookies have a distinct crumbly texture and are often rolled in powdered sugar, giving them a unique appearance and mouthfeel that differs from classic chewy cookies.
7.2 Can I make these cookies gluten-free?
Yes, by substituting all-purpose flour with a gluten-free flour blend, you can make a gluten-free version of Chocolate Snowball Cookies.
7.3 How long do Chocolate Snowball Cookies stay fresh?
When stored properly in an airtight container, these cookies can remain fresh for about a week at room temperature.
7.4 Can I substitute the butter in the recipe?
Yes! You can use plant-based butter or another butter substitute to make a dairy-free version of these cookies.
7.5 What can I add to make the cookies more festive?
Additions like colored sprinkles, crushed peppermint candies, or even flavored extracts can give your Chocolate Snowball Cookies a festive twist for special occasions.
8. Conclusion
Chocolate Snowball Cookies are a delicious and visually stunning dessert that can elevate any gathering. With their rich chocolate flavor and delightful texture, these cookies are sure to be a hit. Try out the recipe and enjoy sharing this sweet treat with your friends and family!
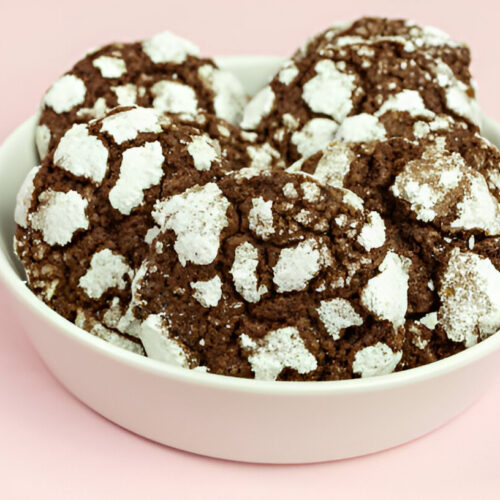
Chocolate Snowball Cookies
Equipment
- 1 mixing bowl
- 1 baking sheet
- 1 parchment paper
- 1 electric mixer optional
- 1 cooling rack
- 1 sifter
Ingredients
- 1 cup unsalted butter, softened
- 1 cup granulated sugar
- 1 teaspoon vanilla extract
- 2 cups all-purpose flour
- 1/2 cup unsweetened cocoa powder
- 1/4 teaspoon salt
- 1 cup chopped nuts (walnuts or pecans) Optional
- 1 cup powdered sugar For coating
Instructions
- Preheat the oven to 350°F (175°C) and line a baking sheet with parchment paper.
- In a mixing bowl, cream the softened butter and granulated sugar together until light and fluffy.
- Add in the vanilla extract and mix until combined.
- In another bowl, whisk together the flour, cocoa powder, and salt. Gradually mix this dry mixture into the wet mixture until well blended.
- Stir in the chopped nuts if using, ensuring they are evenly distributed throughout the dough.
- Scoop out tablespoon-sized portions of the dough and roll them into balls. Place them on the prepared baking sheet about 2 inches apart.
- Bake in the preheated oven for 10-12 minutes, until the edges are set but the centers are still soft.
- Allow the cookies to cool on the baking sheet for about 5 minutes, then transfer them to a cooling rack.
- Once cooled, roll the cookies in powdered sugar to coat them generously.

