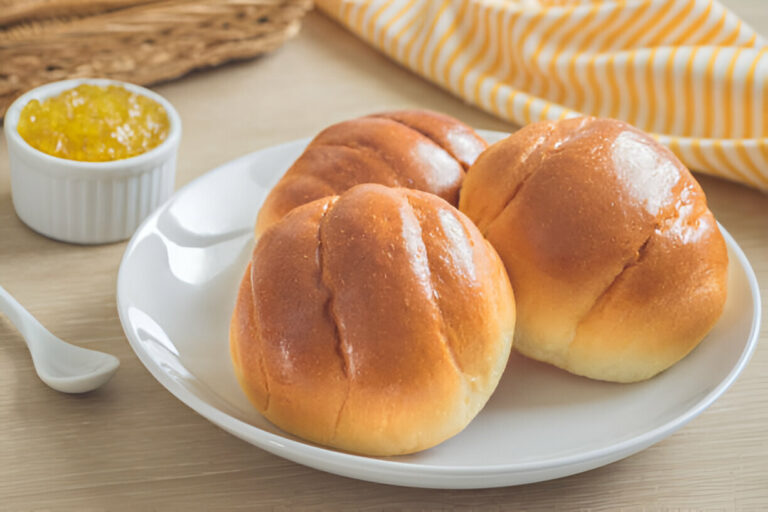
Aunt Shirley’s Famous Homemade Dinner Rolls Recipe & Tips
Aunt Shirley is a beloved figure in our family, known not just for her warm smile and generous spirit, but also for her renowned homemade dinner rolls that have become a staple at every family gathering. These rolls, with their soft, fluffy texture and buttery flavor, are much more than just bread; they are a symbol of love, tradition, and togetherness. Each bite carries years of cherished memories, from holiday feasts to casual Sunday dinners, making them an integral part of our family heritage.
Homemade bread holds a significant place in family gatherings and traditions, bridging generations and bringing loved ones around the table. The aroma of freshly baked rolls wafting through the kitchen has the magical ability to evoke nostalgia, making every meal feel special. Aunt Shirley’s dinner rolls have a way of elevating any occasion, whether it’s a festive holiday or a simple dinner with friends, reinforcing the idea that food is a universal language of love.
In this article, you can expect not only Aunt Shirley’s cherished recipe but also helpful tips to ensure your dinner rolls turn out perfectly every time. Additionally, we will delve into a brief history of these beloved rolls and the memories they have created over the years. Prepare to embark on a culinary journey that intertwines family, tradition, and delicious homemade bread!
The Legacy of Aunt Shirley
Aunt Shirley is more than just a family member; she is a beacon of warmth and love, with a passion for baking that has turned her kitchen into a sanctuary of delightful aromas. Growing up, her home was the place where laughter filled the air, and the smell of freshly baked dinner rolls welcomed us like an embrace. Each batch of rolls she made was crafted with care, using time-honored techniques passed down through generations. Her dedication to the art of baking has made Aunt Shirley a beloved figure in our lives, and her dinner rolls are the centerpiece of every gathering.
As children, we would gather around the kitchen table, eager to help measure and mix the ingredients. Each knead of the dough felt like a dance, a rhythmic celebration of flavors that would soon come together. The excitement would build as the dough rose, a physical manifestation of Aunt Shirley’s love for us. Those rolls were not just food; they were a memory, a tradition that we looked forward to at every family feast. Whether it was a Thanksgiving dinner or a simple Sunday meal, Aunt Shirley’s rolls were a constant reminder of the importance of family and togetherness.
The Importance of Homemade Rolls
Homemade dinner rolls are far more than a simple side dish; they are steeped in tradition and intimacy, connecting us deeply to our roots. The act of making bread has been a unifying force across cultures and generations, and Aunt Shirley’s rolls embody this concept beautifully. Gathering around the table with loved ones, sharing stories, and breaking bread together is a timeless ritual that nourishes both the body and soul.
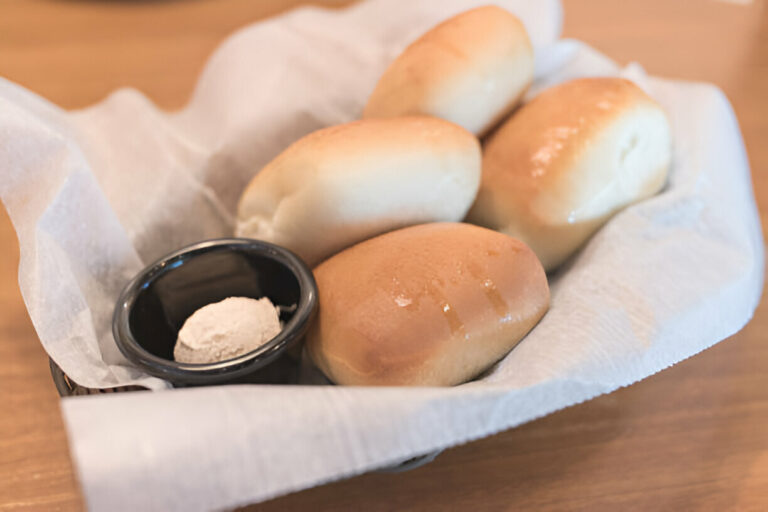
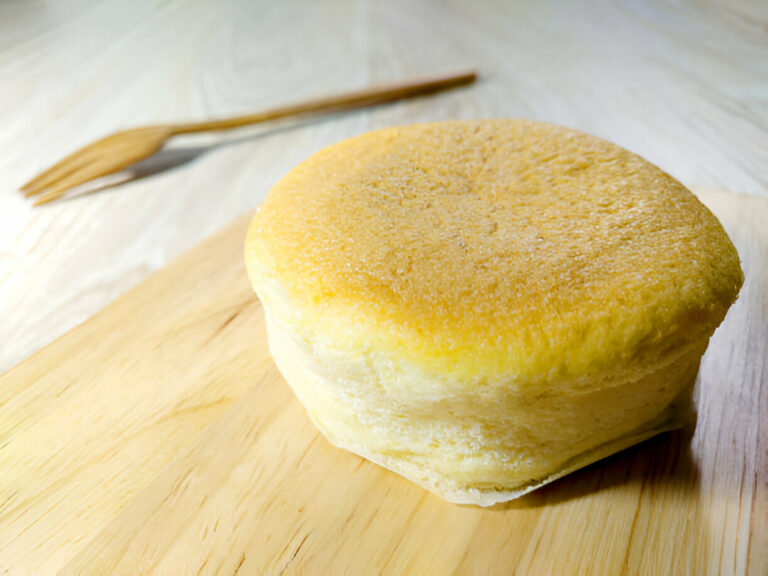
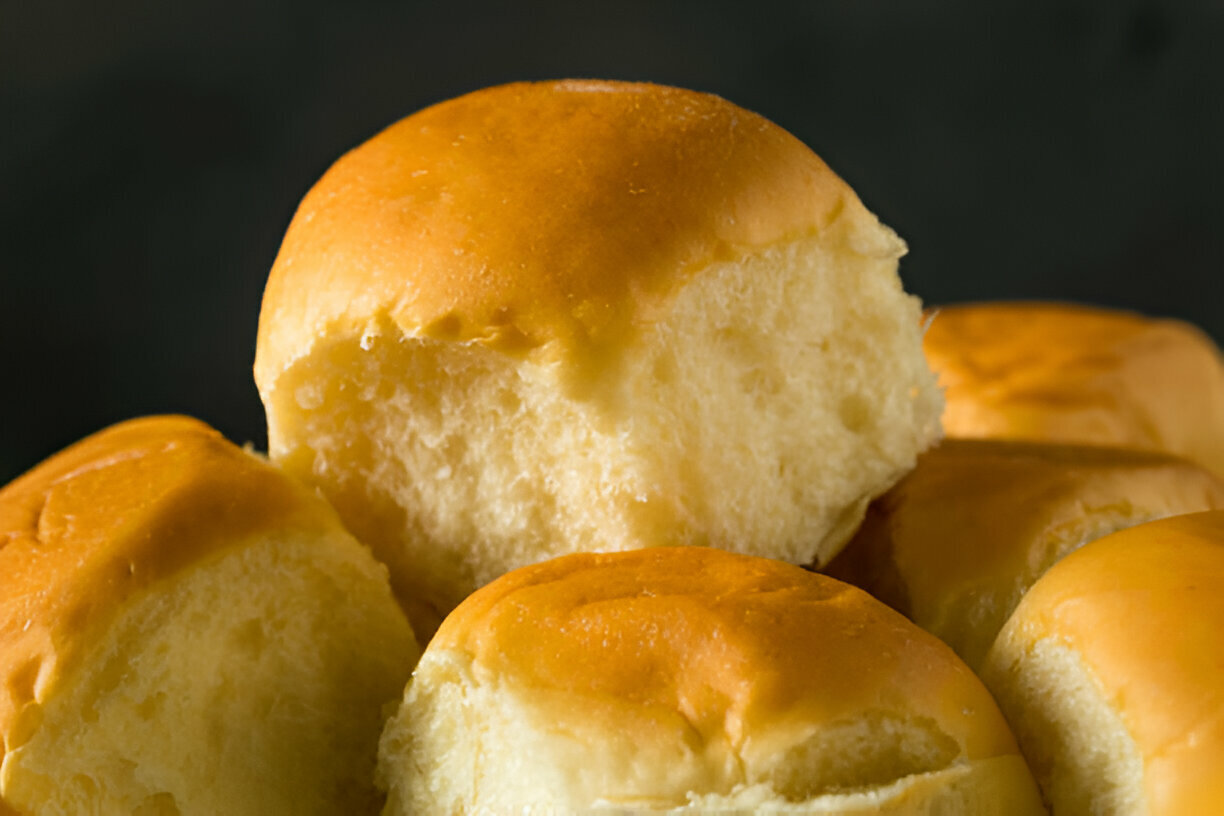
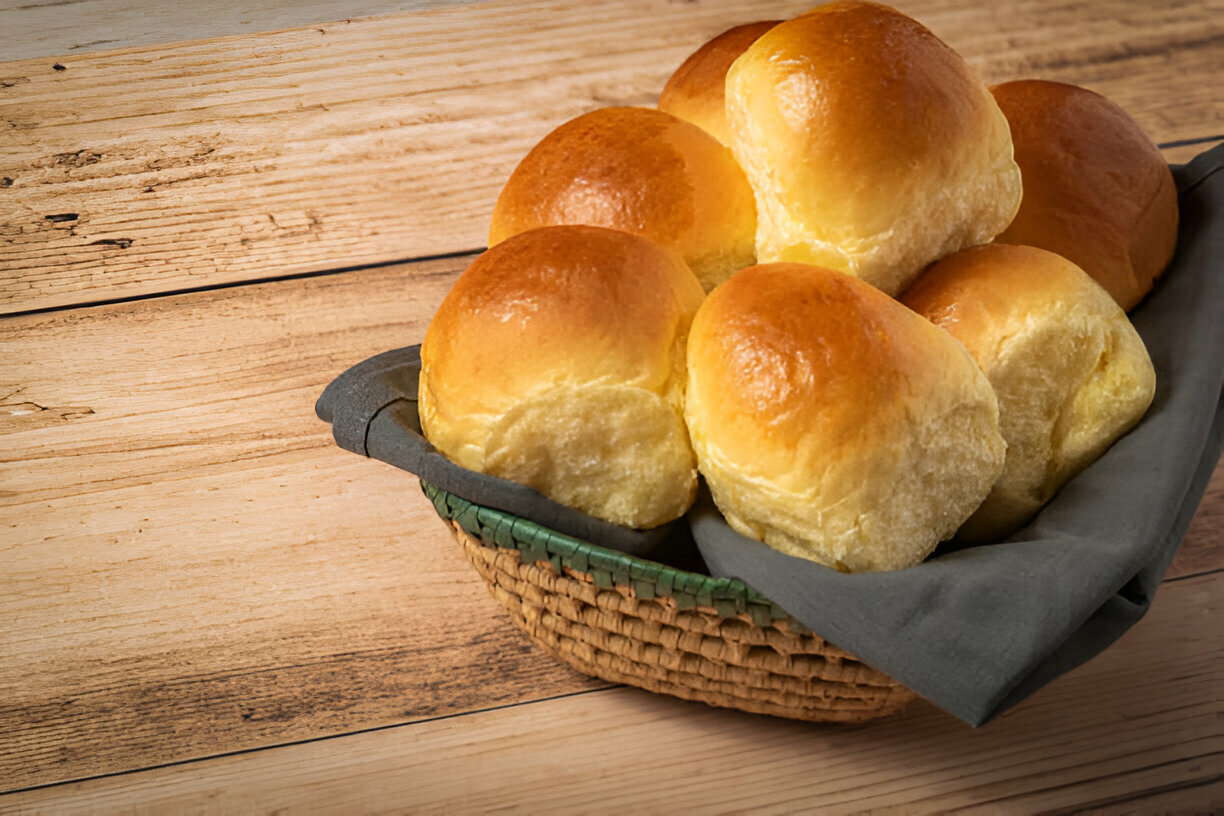
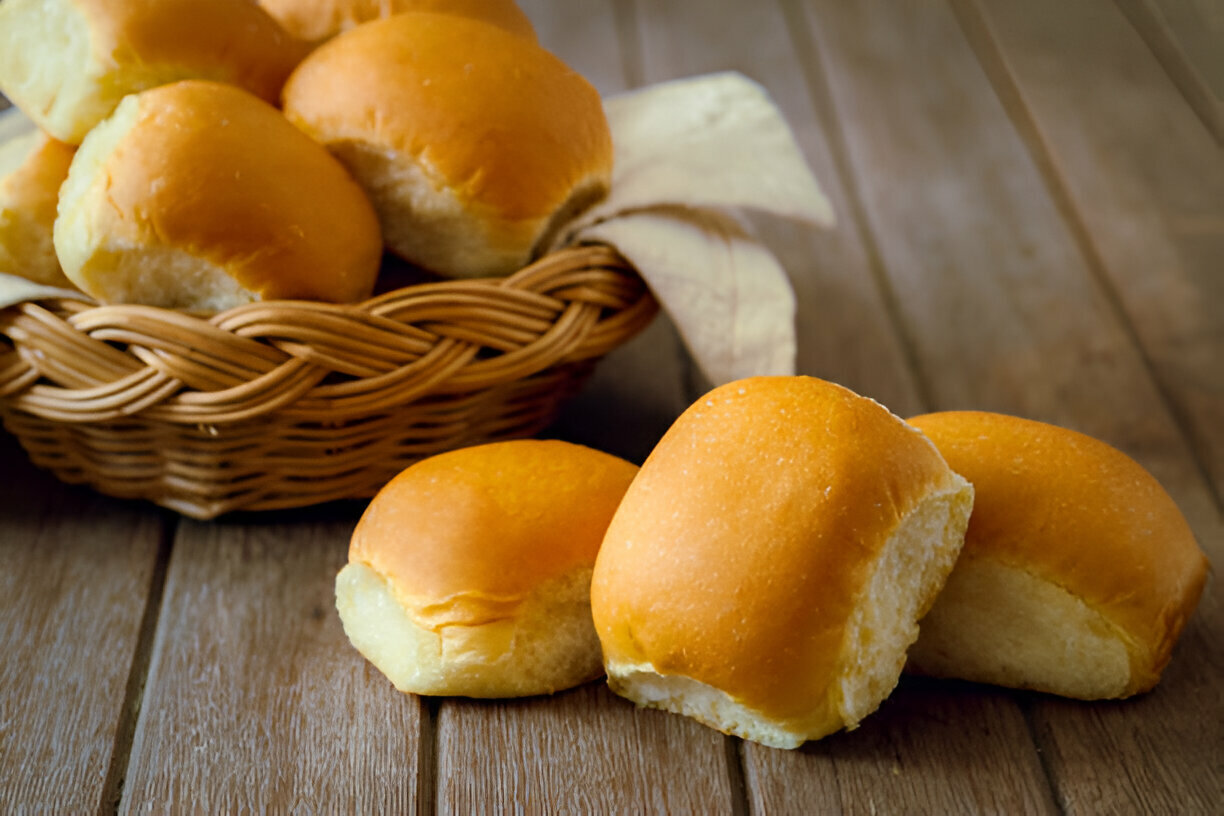
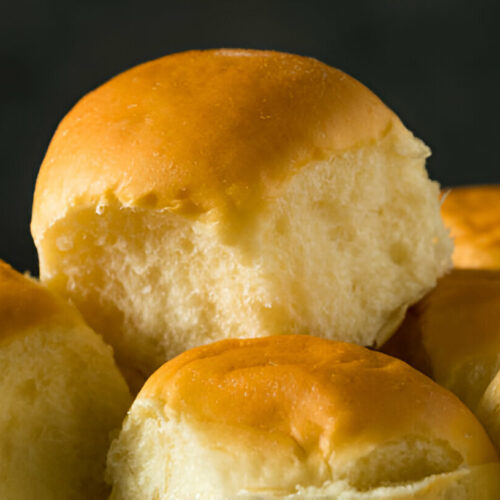
During holiday meals, Aunt Shirley’s rolls take center stage, often being the first to disappear from the table. Their warm, buttery flavor elevates any dish and enhances the overall dining experience. The soft texture invites everyone to indulge, creating a sense of comfort and belonging. Each roll is a piece of history, a testament to the love and care that go into every family gathering. Aunt Shirley’s dinner rolls remind us that food is not just about sustenance; it is about creating moments, building traditions, and cherishing those we hold dear.
Ingredients You Will Need
To recreate Aunt Shirley’s famous dinner rolls, gather the following ingredients:
- Flour: All-purpose flour works best for a light and fluffy texture.
- Sugar: Adds a touch of sweetness to balance the flavors.
- Yeast: Active dry yeast or instant yeast will ensure the rolls rise perfectly.
- Milk: Whole milk enhances the richness of the rolls.
- Butter: Unsalted butter adds a delicious, buttery flavor.
- Eggs: Provides binding and richness to the dough.
- Salt: Enhances flavor and controls the yeast activity.
Step-by-Step Directions
Preparing the Dough
Begin by measuring out your ingredients accurately. In a large mixing bowl, combine 2 ½ cups of all-purpose flour, 1 tablespoon of sugar, 1 packet (2 ¼ teaspoons) of yeast, and 1 teaspoon of salt. Mix these dry ingredients well. In a small saucepan, heat 1 cup of milk and ½ cup of unsalted butter over low heat until the butter melts; do not let it boil.
Once warm but not hot, pour the milk mixture into the dry ingredients, followed by 1 beaten egg. Stir until a dough forms. If the dough is too sticky, gradually incorporate additional flour, one tablespoon at a time. Knead the dough on a lightly floured surface for about 5 to 7 minutes until smooth and elastic.
Place the dough in a greased bowl, cover it with a damp cloth, and let it rise in a warm place for about 1 hour, or until doubled in size. For a perfect rise, consider placing the bowl in an oven preheated to 200°F and then turned off.
Shaping the Rolls
After the dough has risen, punch it down gently to release the air. Turn it out onto a floured surface and divide it into 12 equal pieces. For classic dinner rolls, shape each piece into a ball by tucking the edges under and rolling it on the table.
If you’d like to try different shapes, consider the cloverleaf style by dividing each ball into three smaller pieces and placing them in a greased muffin tin. Alternatively, you can twist the dough or create a braided roll for a more decorative touch.
Baking the Rolls
Preheat your oven to 375°F (190°C). Once shaped, allow the rolls to rise again for about 30 minutes, covered with a towel. This second rise is crucial for achieving a light texture. Place the rolls in the oven and bake for 15 to 20 minutes or until golden brown on top. To check for doneness, tap the bottom of a roll; it should sound hollow.
For an extra touch of flavor, brush melted butter on top of the rolls immediately after removing them from the oven. Allow the rolls to cool slightly before serving.
Tips for Perfect Dinner Rolls
Common Mistakes to Avoid
Making dinner rolls can be a simple process, but certain mistakes can affect the outcome:
- Over-kneading: Knead just until the dough is smooth; over-kneading can make the rolls tough.
- Under-kneading: If the dough isn’t kneaded enough, it may not rise properly.
- Measuring flour incorrectly: Use the spoon-and-level method for accurate measurements.
Enhancements and Variations
You can personalize Aunt Shirley’s rolls in many ways. Consider adding fresh or dried herbs such as rosemary or thyme for a savory twist. Cheese lovers might enjoy mixing in cheddar or parmesan for added flavor.
For those with dietary restrictions, gluten-free alternatives using almond flour or gluten-free all-purpose flour can be used to create a similar texture. Just be sure to adjust the liquid content as necessary.
Storing and Reheating Rolls
To store leftover rolls, place them in an airtight container or ziplock bag at room temperature for up to 2 days. For longer storage, consider freezing them. Wrap each roll individually in plastic wrap, then place them in a freezer-safe bag. They can be frozen for up to three months.
When you’re ready to enjoy the frozen rolls, thaw them overnight in the refrigerator. Reheat them in a preheated oven at 350°F (175°C) for about 10 minutes to restore their warmth and softness without losing moisture. An alternative method is to microwave them for 10-15 seconds, ensuring to cover them with a damp paper towel to retain moisture.
Serving Suggestions
Aunt Shirley’s rolls are versatile and pair beautifully with a variety of dishes. Serve them alongside rich, savory meals like roast chicken, beef stew, or creamy pasta dishes to add a comforting element to your dinner.
For festive occasions, consider filling them with cranberry sauce for a Thanksgiving feast or serving them with a selection of dips for brunch gatherings. Their delightful flavor and soft texture will be an inviting addition to any meal!
FAQs About Aunt Shirley’s Famous Homemade Dinner Rolls
What can I substitute for milk in the recipe?
You can use almond milk, soy milk, or even water if you’re looking for a dairy-free option. Just make sure that whichever substitute you choose is at room temperature to help activate the yeast.
How long do I need to let the dough rise?
The dough typically needs to rise for about 1 hour, or until it has doubled in size. A warm, draft-free area is ideal for this process.
Can I make these rolls ahead of time?
Yes! You can prepare the dough in advance and refrigerate it overnight. Just let it come to room temperature before shaping it into rolls and proceeding with the second rise.
What is the best way to freeze dinner rolls?
Wrap each cooled roll in plastic wrap and then place them in a freezer-safe bag. Label them with the date and use within three months for the best quality.
Conclusion
Making Aunt Shirley’s dinner rolls is not just about baking; it’s about creating cherished memories and traditions that your family will hold dear. The joy of sharing these rolls with loved ones will reinforce the sense of togetherness that Aunt Shirley so beautifully embodies. So grab your ingredients and start kneading your way to delicious, homemade rolls!
Aunt Shirley's Famous Homemade Dinner Rolls
Equipment
- 1 large mixing bowl
- 1 measuring cups and spoons
- 1 wooden spoon or dough whisk
- 1 clean kitchen towel or plastic wrap
- 1 baking sheet
- 1 parchment paper (optional)
- 1 oven
Ingredients
- 4 cups all-purpose flour
- 1 cup milk
- 1/4 cup granulated sugar
- 1/4 cup unsalted butter, softened
- 1 packet active dry yeast (2 1/4 tsp)
- 2 large eggs
- 1 teaspoon salt
- 1/4 cup warm water
Instructions
- In a small bowl, dissolve the active dry yeast in warm water and let it sit for about 5 minutes until frothy.
- In a large mixing bowl, combine the warm milk, sugar, and softened butter. Stir until the butter is mostly melted.
- Add the dissolved yeast mixture to the milk mixture. Mix well.
- Beat in the eggs one at a time, then add the salt. Stir until combined.
- Gradually add the flour, one cup at a time, mixing with a wooden spoon or dough whisk until a soft dough forms.
- Turn the dough out onto a floured surface and knead it for about 5-7 minutes until smooth and elastic.
- Place the dough in a greased bowl, cover it with a kitchen towel or plastic wrap, and let it rise in a warm place for about 1 hour or until it has doubled in size.
- Preheat the oven to 375°F (190°C).
- Once the dough has risen, punch it down and divide it into 12 equal pieces. Shape each piece into a ball and place them on a baking sheet lined with parchment paper or greased.
- Cover the rolls again and let them rise for another 30 minutes.
- Bake in the preheated oven for 15-20 minutes or until golden brown on top.
- Remove from the oven and brush with melted butter for extra flavor.
- Serve warm, or store in an airtight container for a couple of days.