Grandma’s Perfect Homemade Bread: A Complete Guide
Homemade bread holds a special place in family traditions, transporting us back to the cozy kitchens of our childhood. The warm, inviting aroma that wafts through the house as bread bakes is not just a feast for the senses; it symbolizes love, care, and shared moments around the family table. For many, the simple act of making bread is rich with memories of grandmothers kneading dough, teaching the art of baking while sharing stories and laughter. This article aims to revive that cherished experience by providing a comprehensive guide to crafting Grandma’s perfect homemade bread.
Whether you are a novice baker or an experienced home cook, this guide will equip you with everything you need to know to create the best bread possible. We will explore the essential ingredients that make Grandma’s bread unique, delve into step-by-step instructions for making it from scratch, and share invaluable tips and tricks to help you avoid common pitfalls along the way. Additionally, we will address frequently asked questions to further clarify your bread-making journey.
Get ready to channel your inner baker as we embark on this culinary adventure together! You’ll not only learn to create a delicious loaf but also discover the joy and satisfaction that comes from baking bread at home. So, roll up your sleeves and let’s get started on your path to creating a timeless family recipe that can be passed down for generations to come.
The History of Homemade Bread
Throughout history, bread has been a staple food in many cultures, symbolizing sustenance and community. From ancient grains baked on hot stones to artisanal loaves crafted in modern-day bakeries, bread reflects regional ingredients and cultural practices. In many societies, bread represents more than just a meal; it is intertwined with rituals, festivals, and family gatherings. The act of baking bread has transcended generations, often being passed down as a cherished family tradition.
In family settings, homemade bread has played a significant role in forging bonds and creating warm memories. Many people can recall the comforting sight of a parent or grandparent baking bread, the kitchen filled with laughter and the enticing aroma filling the home. These moments not only nurture our bodies but also foster a sense of belonging and togetherness. Personal anecdotes about baking bread, such as learning to knead dough under a grandmother’s watchful eye or enjoying a fresh slice with homemade jam, illustrate the powerful connections that form over shared meals.
Key Ingredients for Grandma’s Perfect Bread
To recreate the beloved flavors of Grandma’s bread, it is essential to understand the key ingredients that contribute to its unique taste and texture. Each component plays a vital role, working together to create the perfect loaf.
2.1 Flour
Flour is the foundation of any bread recipe. The type of flour used can significantly affect the outcome. All-purpose flour is versatile and suitable for many recipes, while bread flour, which has a higher protein content, is ideal for creating a chewy texture. Look for trusted brands like King Arthur or Bob’s Red Mill for consistent quality.
2.2 Yeast
Yeast is the secret ingredient that makes bread rise. There are two main types: active dry yeast and instant yeast. Active dry yeast requires activation in warm water, while instant yeast can be mixed directly with dry ingredients. Understanding how to choose the right yeast will impact the bread’s texture and rise.
2.3 Water and Milk
The temperature of the liquid used in bread-making is critical. Warm water at around 100°F (38°C) helps activate the yeast, while milk adds richness and flavor. For those with dietary restrictions, non-dairy alternatives like almond or oat milk can also be used effectively.
2.4 Sweeteners
Sweeteners, be it sugar, honey, or molasses, not only add flavor but also contribute to fermentation. These ingredients feed the yeast, promoting a better rise and improving the overall taste of the bread. Each type of sweetener offers its unique flavor profile, so feel free to experiment!
2.5 Salt
Salt plays a dual role in bread-making, enhancing flavor and controlling yeast activity. It is crucial to use the right amount, as too little can cause the bread to rise uncontrollably, while too much can inhibit yeast growth. Consider using Kosher salt or sea salt for a more refined flavor.
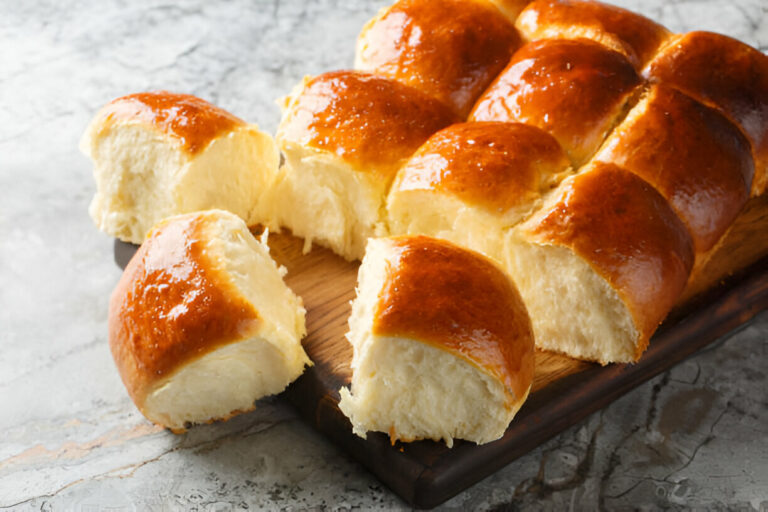
Step-by-Step Guide to Grandma’s Perfect Homemade Bread
Now that you have an understanding of the history and key ingredients, it’s time to roll up your sleeves and start baking! This section provides a detailed step-by-step approach to making Grandma’s perfect homemade bread.
3.1 Preparing the Dough
Begin by gathering all your ingredients. In a large mixing bowl, combine the flour, salt, and any sweeteners. In a separate small bowl, activate the yeast by mixing it with warm water (100°F/38°C) and letting it sit for about 5 minutes until it becomes frothy. Once activated, add the yeast mixture and milk to the dry ingredients. Mix until a shaggy dough forms.
3.2 Kneading the Dough
Transfer the dough onto a floured surface. Knead the dough for about 8-10 minutes, folding and pressing it until it becomes smooth and elastic. A well-kneaded dough should bounce back when lightly pressed. If it feels too sticky, sprinkle a little more flour as needed, but avoid adding too much to keep the texture light.
3.3 The First Rise
Shape the kneaded dough into a ball and place it in a lightly greased bowl, covering it with a damp towel or plastic wrap. Allow the dough to rise in a warm, draft-free area until it has doubled in size, which usually takes about 1-2 hours. Check for readiness by gently pressing your finger into the dough; if the indentation remains, it’s ready for the next step.
3.4 Shaping the Dough
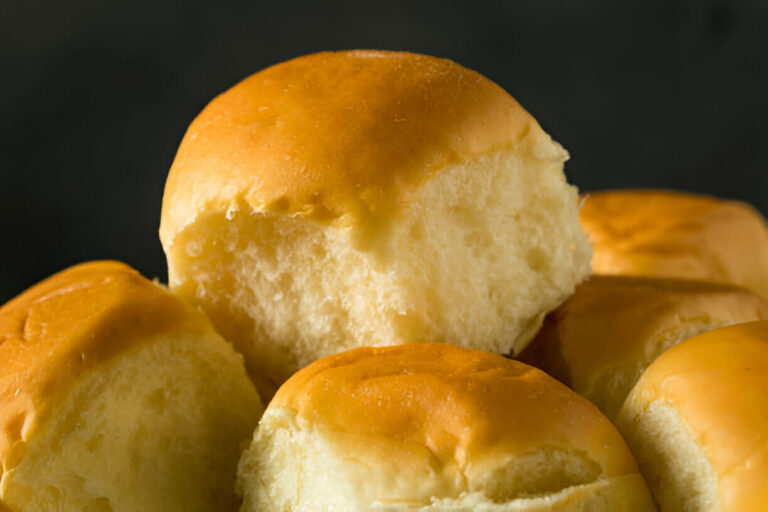
Once the dough has risen, gently punch it down to release excess air. Transfer it onto a floured surface. Shape the dough into a loaf by flattening it into a rectangle and rolling it up tightly, tucking the ends underneath. You can also opt for other shapes like round or baguette by adjusting your method accordingly.
3.5 The Second Rise
Place your shaped dough into a greased loaf pan or onto a baking sheet. Cover it again and let it rise for another 30-60 minutes until it has nearly doubled in size. Before baking, preheat your oven to 375°F (190°C). The dough is ready to bake when it lightly springs back upon touch.
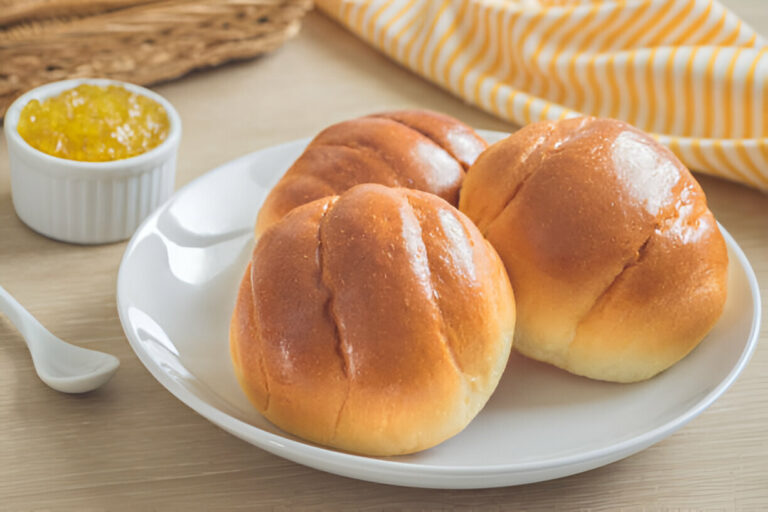
3.6 Baking the Bread
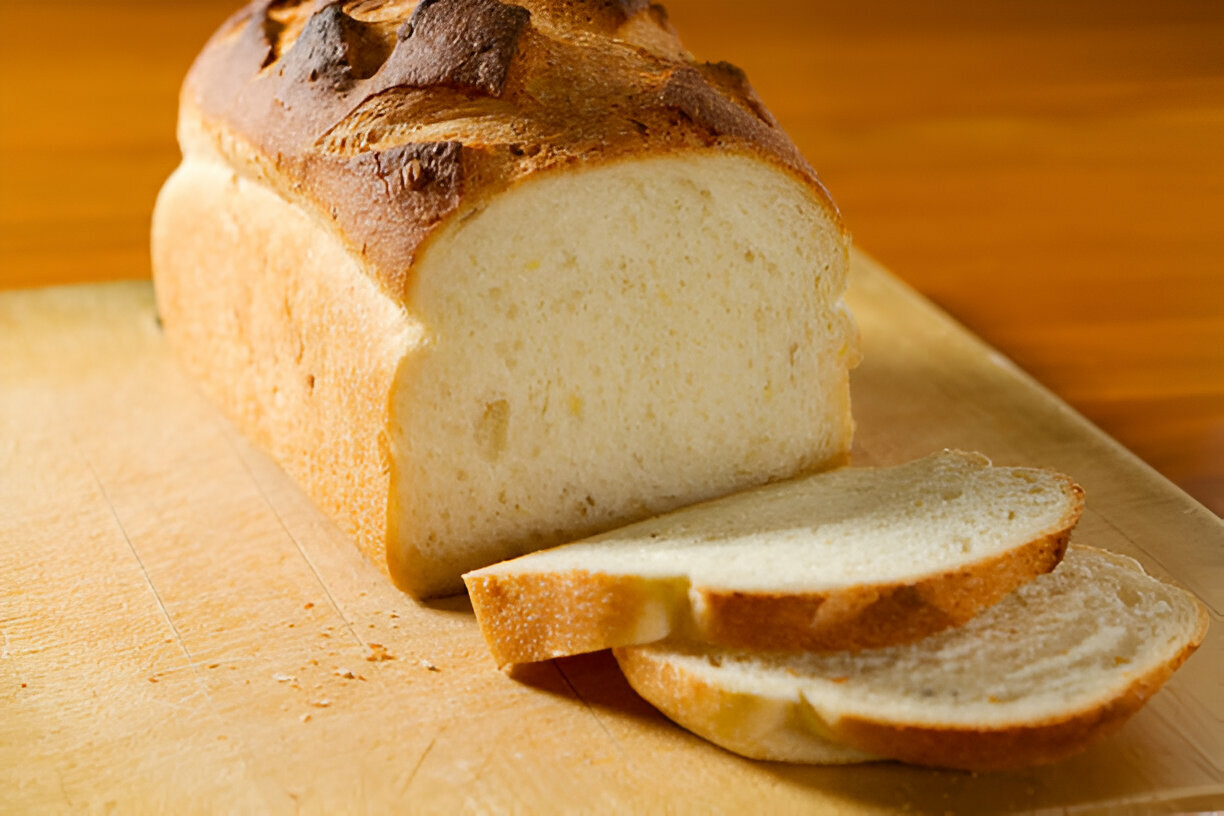
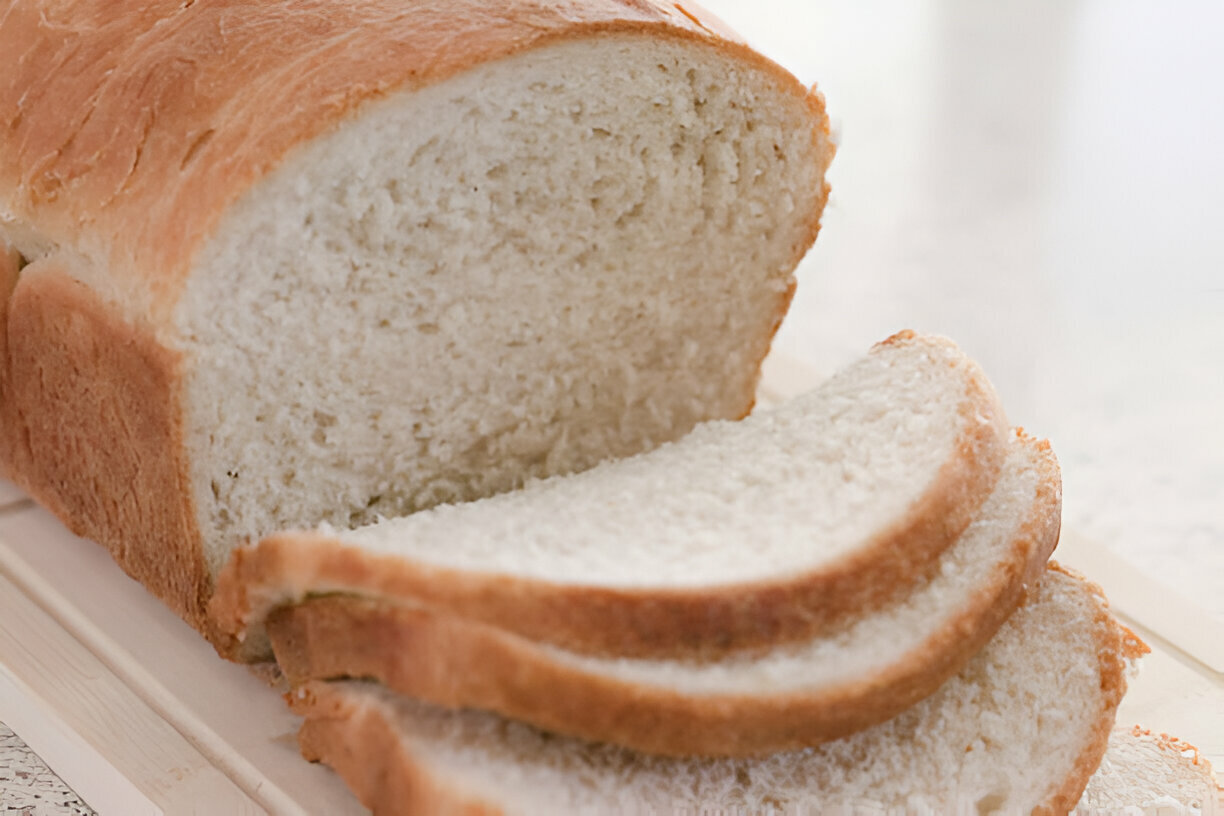
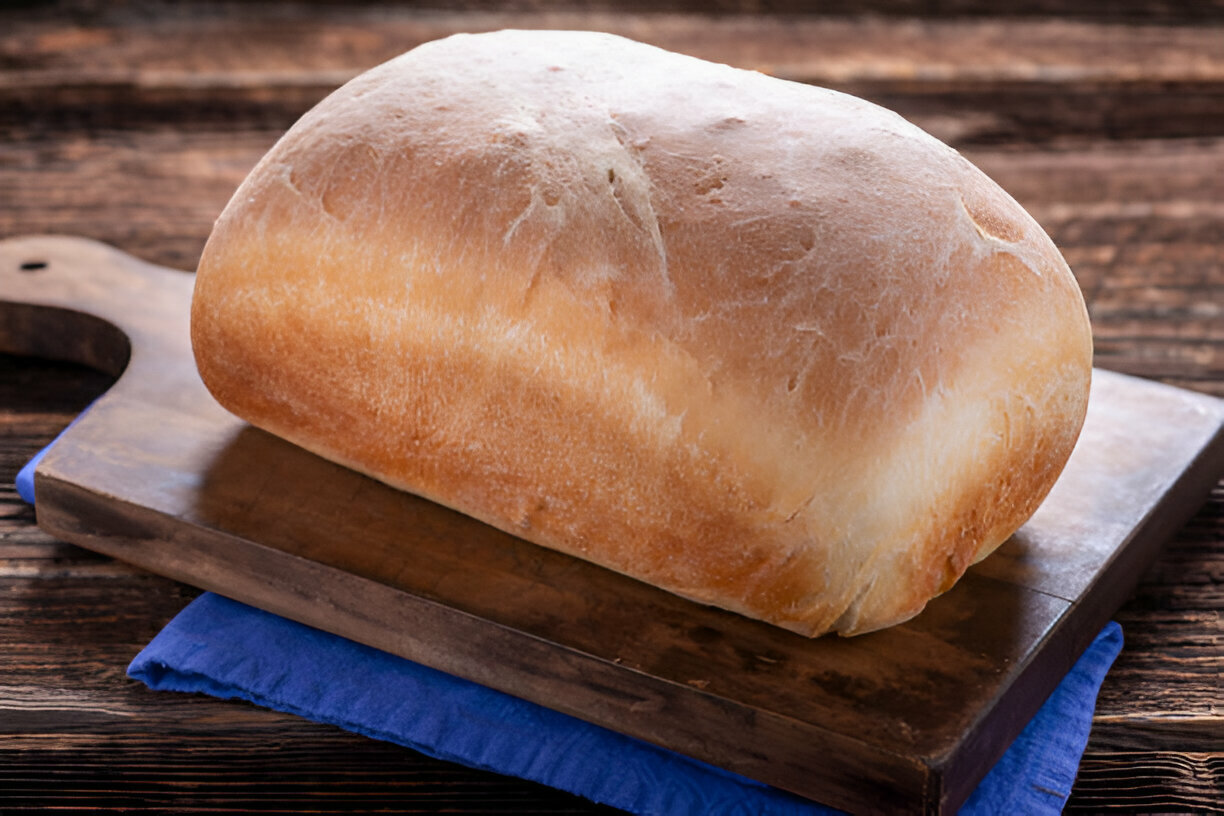
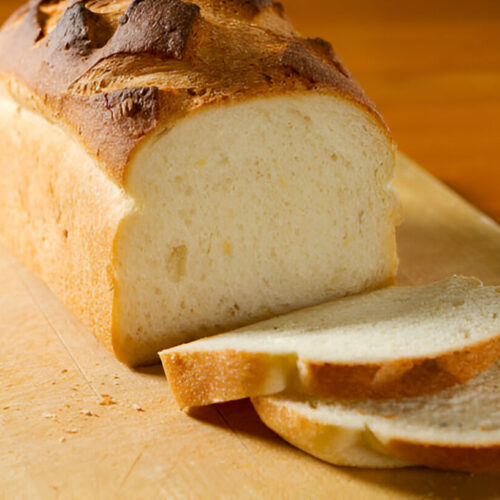
Carefully place your risen dough into the preheated oven. Bake for 25-30 minutes, or until the bread is golden brown and sounds hollow when tapped on the bottom. For a crusty exterior, consider placing a pan of water at the bottom of the oven to create steam. Once done, remove the bread and let it cool on a wire rack before slicing.
Tips and Tricks for Perfect Homemade Bread
Even seasoned bakers encounter hiccups in the bread-making process. Here are some valuable tips and tricks to ensure your homemade bread turns out perfectly every time.
4.1 Common Mistakes to Avoid
Know some common pitfalls: Over-kneading can make the bread tough, while under-kneading leads to a dense loaf. Always check the water temperature; too hot can kill the yeast, and too cold will slow activation. Also, do not rush the rising process; bread needs time to develop flavor and texture.
4.2 Storage and Preservation
To keep your homemade bread fresh, store it in a cool, dry place in a bread box or wrapped in a cloth to maintain moisture. For longer preservation, slice and freeze the bread. Simply thaw slices as needed, and enjoy fresh-tasting bread at any time!
Frequently Asked Questions (FAQs)
5.1 Can I use whole wheat flour instead of white flour?
Yes, but it may result in denser bread. You can also mix whole wheat flour with all-purpose for a better texture.
5.2 How can I make my bread rise faster?
To speed up the rising process, you can place the dough in a warm environment, such as an oven with just the light on, or add a little more yeast to the recipe.
5.3 What can I do if my bread is too dense?
If your bread is too dense, it might be due to insufficient kneading or not enough rising time. Make sure to knead until smooth and allow proper resting time for the dough.
5.4 How do I know when my bread is done baking?
Bread is done baking when it is golden-brown on top and sounds hollow when tapped. Additionally, using an instant-read thermometer to check the internal temperature (around 190°F/88°C) can be helpful.
5.5 Can I add herbs or spices to my bread?
Absolutely! Herbs and spices can enhance the flavor of your bread. Consider adding ingredients like rosemary, garlic, or even cinnamon for a flavorful twist.
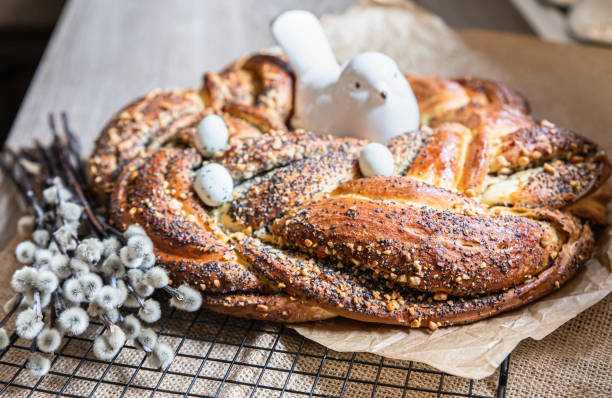
Variations of Grandma’s Bread Recipe
6.1 Seeded Bread
Add a mix of pumpkin, sunflower, or sesame seeds to the dough before the first rise for an added crunch and flavor.
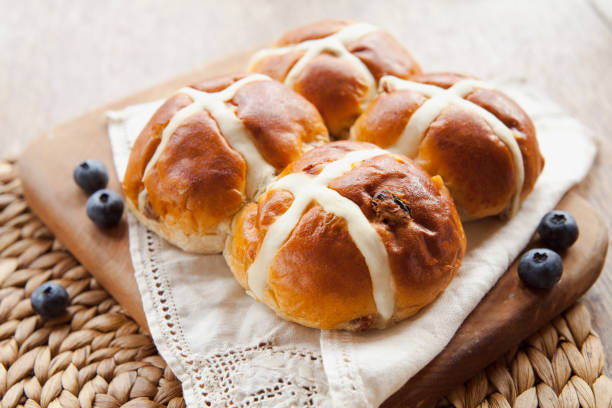
6.2 Sweet Bread
Incorporate ingredients like cinnamon, raisins, or chocolate chips for a sweet treat that’s perfect for breakfast or as a dessert.
6.3 Herb-infused Bread
Fold in fresh herbs like basil or thyme into the dough for an aromatic and savory twist that pairs well with soups and salads.
Conclusion
Baking Grandma’s perfect homemade bread is not just about creating a delicious loaf; it’s an activity rich in memories and tradition. By embracing the art of bread-making, you’re not only nourishing yourself but also connecting with your family’s history. Don’t hesitate to experiment with the recipe, adding your personal touch to carry it into the next generation. We invite you to share your baking triumphs or questions in the comments below and embark on this delightful baking journey together!
Grandma’s Perfect Homemade Bread
Equipment
- 1 large mixing bowl
- 1 wooden spoon or spatula
- 1 measuring cups and spoons
- 1 clean kitchen towel
- 1 loaf pan (9x5 inches)
- 1 oven
- 1 cooling rack
Ingredients
- 4 cups all-purpose flour
- 2 tablespoons sugar
- 2 teaspoons salt
- 2 tablespoons unsalted butter, softened
- 2 teaspoons instant yeast
- 1 ½ cups warm water (about 110°F or 43°C)
Instructions
- In a large mixing bowl, combine the flour, sugar, salt, and instant yeast.
- Add the softened butter to the dry ingredients and mix until crumbly.
- Gradually add the warm water to the mixture, stirring with a wooden spoon until a sticky dough forms.
- Turn the dough onto a lightly floured surface and knead for about 8-10 minutes until smooth and elastic.
- Place the kneaded dough in a lightly greased bowl, cover it with a clean kitchen towel, and let it rise in a warm place for about 1 hour or until it doubles in size.
- Once risen, punch down the dough gently and shape it into a loaf, placing it into the greased loaf pan.
- Cover the pan with the kitchen towel and let the dough rise again for about 30 minutes until it rises slightly above the edge of the pan.
- Preheat the oven to 375°F (190°C).
- Bake the bread in the preheated oven for about 30 minutes, or until golden brown and sounds hollow when tapped.
- Remove from the oven, let cool in the pan for 10 minutes, then transfer to a cooling rack to cool completely.
- For a richer flavor, you can add a tablespoon of honey or milk to the warm water.
- This bread can also be stored at room temperature in a sealed bag or container for up to 3 days.
- It can be frozen for up to three months; wrap tightly in plastic wrap and then in aluminum foil before freezing.