Old Fashioned Yeast Rolls: A Step-by-Step Guide to Comfort Food
Old Fashioned Yeast Rolls are a delightful staple in many kitchens, bringing warmth and comfort to family meals and gatherings. With a rich history rooted in various cultural traditions, these rolls have become synonymous with home-cooked goodness, often gracing dinner tables during holidays and special occasions. Their texture is light and fluffy, offering a buttery flavor that perfectly complements any dish. The dough is transformed through the magic of yeast, resulting in a tender bite that makes them irresistible to all who taste them.
Making Old Fashioned Yeast Rolls is not just about baking; it’s an experience that evokes nostalgia and comfort. This versatile bread pairs wonderfully with soups, stews, or even as a standalone snack with a smear of butter or jam. Whether you’re preparing them for a holiday feast, a family dinner, or simply as a weekend treat, these rolls are sure to bring joy to your dining experience. As you embark on this culinary journey, you’ll discover that these homemade rolls not only satisfy hunger but also create lasting memories around the table. Each bite encapsulates the essence of comfort food, inviting you to savor every moment while gathering loved ones.
What are Old Fashioned Yeast Rolls?
Old Fashioned Yeast Rolls are a beloved type of bread that has stood the test of time in kitchens around the world. With a rich history that intertwines with various cultural traditions, they have earned their place as a staple for family meals and special gatherings. Often enjoyed during holidays and celebrations, these rolls are synonymous with home-cooked comfort.
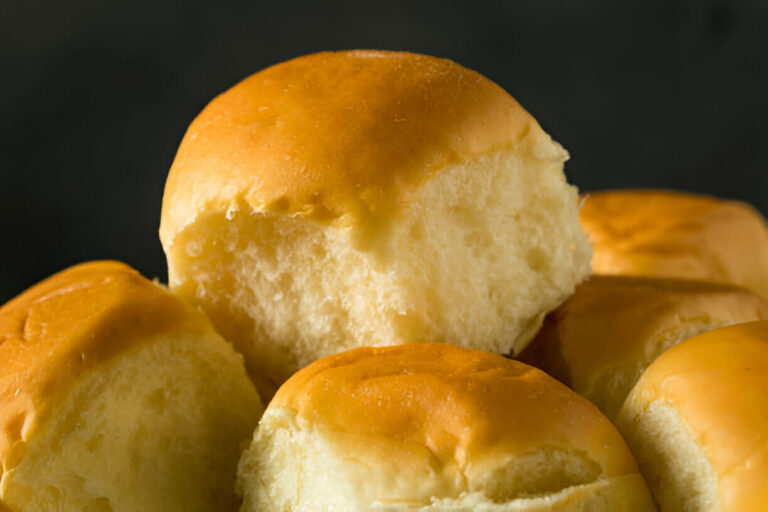
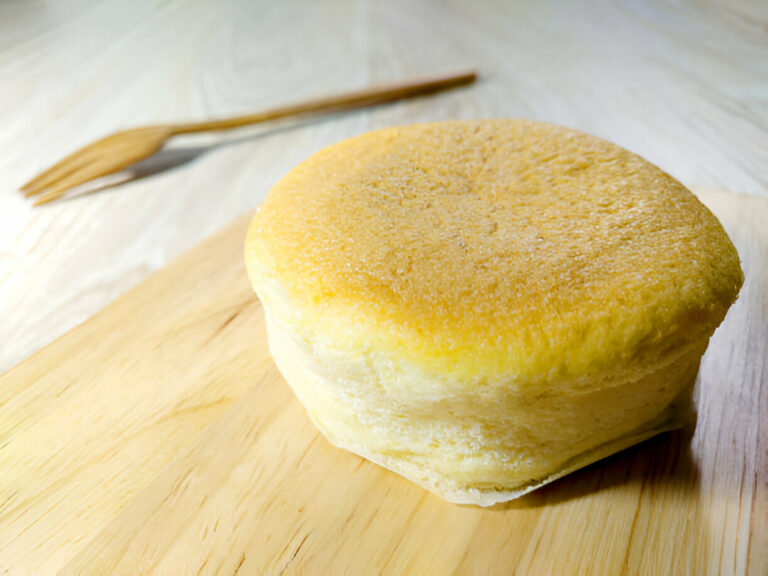
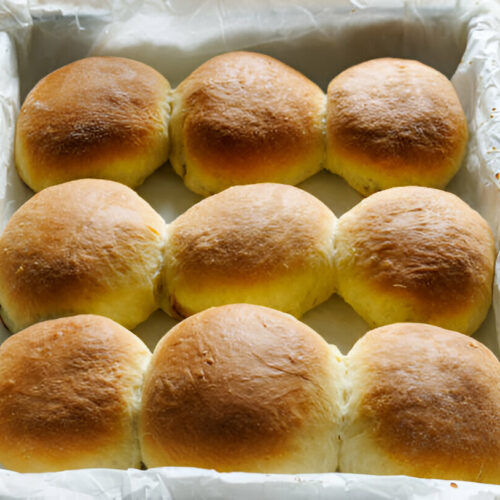
The defining feature of Old Fashioned Yeast Rolls is their light, fluffy texture, complemented by a tender, buttery flavor. As yeast works its magic in the dough, it transforms simple ingredients into a delightful treat that is hard to resist. Each bite offers an inviting warmth, making them the perfect addition to any meal.
Why You Should Make Them
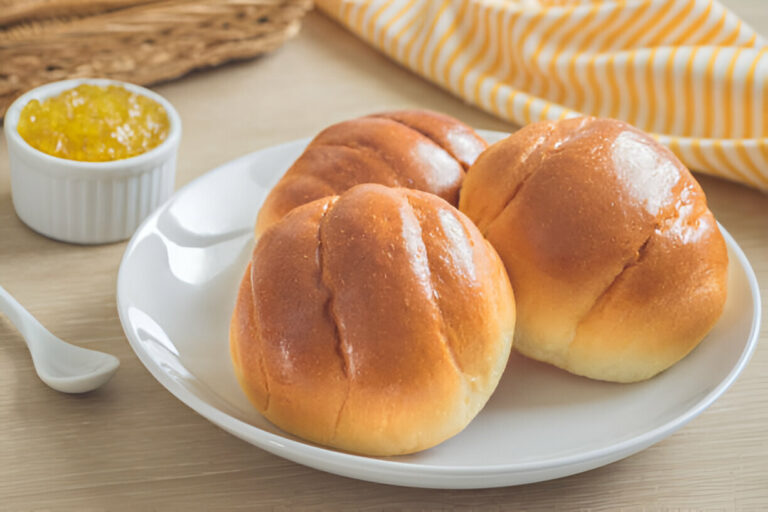
Embracing the art of baking Old Fashioned Yeast Rolls is more than just following a recipe; it’s about creating an experience that evokes nostalgia and comfort. These rolls exemplify the essence of comfort food, making them a versatile choice for a variety of meals. Whether served alongside soups, stews, or simply enjoyed on their own with a smear of butter or jam, their presence at the table enhances the joy of sharing food with loved ones.
When preparing for a holiday feast, a family dinner, or even a casual weekend treat, these rolls will undoubtedly bring joy and satisfaction to your dining experience. Each batch you make is a chance to create lasting memories, encouraging gatherings around the table that celebrate togetherness and warmth.
Ingredients for Old Fashioned Yeast Rolls
To craft the perfect Old Fashioned Yeast Rolls, you will need a selection of simple yet essential ingredients. Each one plays a crucial role in achieving the desired texture and flavor:
- Flour: The backbone of the rolls, providing structure.
- Yeast: The leavening agent that causes the dough to rise.
- Sugar: Adds sweetness and feeds the yeast for optimal rising.
- Salt: Enhances flavor and strengthens gluten.
- Milk: Contributes moisture and richness to the dough.
- Eggs: Provide moisture, richness, and help to bind the ingredients.
- Butter: Adds flavor and richness, creating a tender crumb.
By understanding the importance of each ingredient, you can ensure the success of your homemade rolls. Using quality ingredients not only elevates the taste but also influences the texture, making all the difference in the final product.

Equipment Needed
Before you dive into making Old Fashioned Yeast Rolls, it’s essential to gather the necessary equipment. Having the right tools at your disposal will streamline your baking process and contribute to the success of your rolls. Here’s a list of basic kitchen equipment you’ll need:
- Mixing bowl: A large bowl for mixing your ingredients.
- Measuring cups and spoons: Accurate measurements are critical for the best results.
- Dough whisk or stand mixer: For efficiently mixing and kneading the dough.
- Baking sheet: A preferred surface for baking the rolls, lined with parchment paper or greased.
- Kitchen towels: To cover the dough during the proofing process, keeping it warm and moisture-rich.
Step-by-Step Recipe for Old Fashioned Yeast Rolls
4.1 Preparation Phase
Start by preparing your ingredients and workspace. If you’re using active dry yeast, activate it by combining it with warm milk and a teaspoon of sugar in a bowl. Let it sit for about 5-10 minutes until frothy, indicating that the yeast is alive. In a separate bowl, whisk together your dry ingredients—flour, sugar, salt. In another bowl, mix the wet ingredients—activated yeast, milk, eggs, and melted butter. Carefully combine the wet and dry ingredients, mixing until they form a cohesive dough.
Once your dough is ready, knead it on a lightly floured surface for about 8-10 minutes until it becomes smooth and elastic. You can also use a stand mixer with a dough hook for this part if you prefer. After kneading, place the dough in a lightly greased bowl, cover it with a kitchen towel, and allow it to rise in a warm place until it doubles in size, typically about 1-2 hours.
4.2 Proofing the Dough
Proofing is a crucial step in the yeast roll-making process. Once your dough has doubled in size, gently punch it down to release any air bubbles. This action redistributes the yeast and nutrient-filled environment needed for a robust flavor and structure. Shape the dough back into a ball and let it rise for another 30 minutes. Cover it with a towel to retain moisture, ensuring it rises effectively in a warm, draft-free environment.
4.3 Shaping and Second Rise
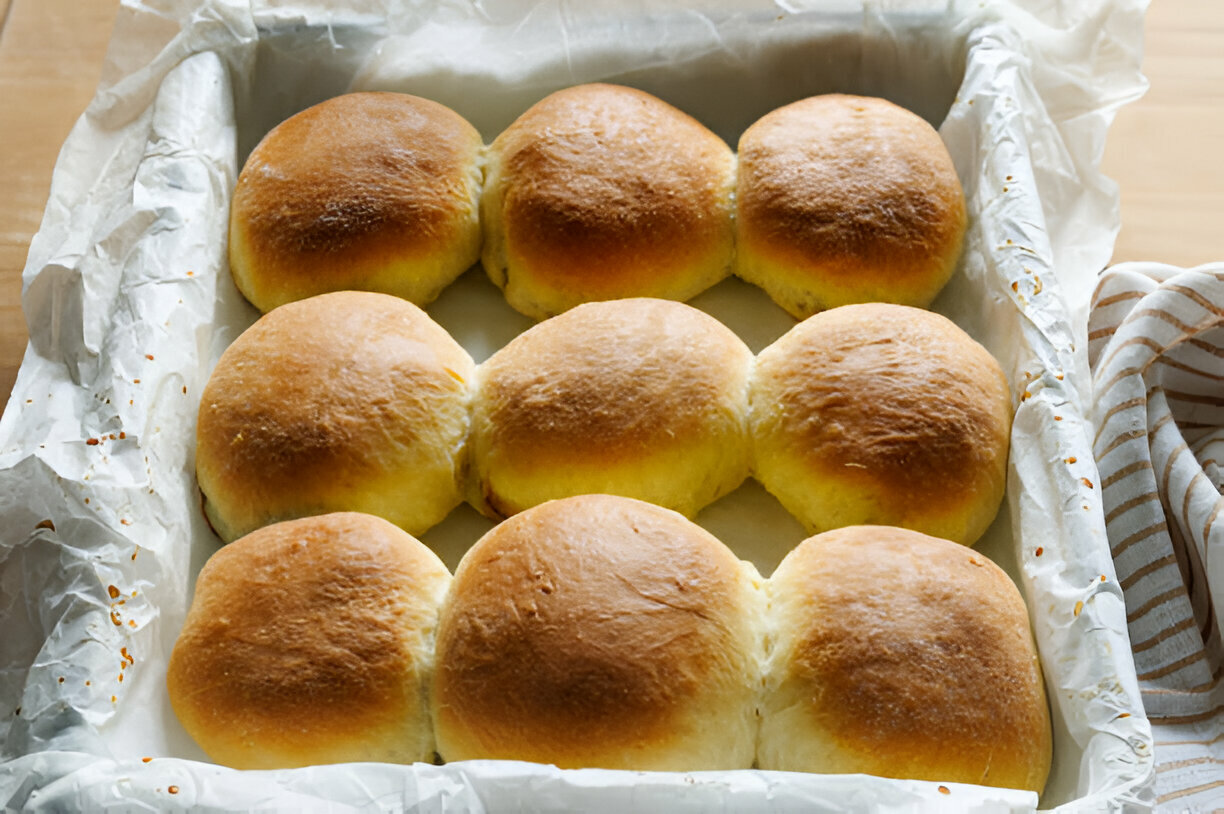
Once the dough has proofed again, it’s time to shape it into rolls. Divide the dough into equal portions (usually about 12-15 pieces), then roll each piece into a ball. Place the rolls on a greased or parchment-lined baking sheet, making sure to leave some space between them. Allow the rolls to go through a second rise for about 30-45 minutes. This step is vital, as it ensures the rolls will be fluffy and light when baked.
4.4 Baking and Serving
Preheat your oven to 350°F (175°C). After the second rise, bake the rolls for 15-20 minutes or until they are golden brown. A good indicator of doneness is when they sound hollow when tapped on the bottom. Once baked, remove them from the oven and let them cool slightly on a wire rack before serving. Enjoy them warm, whether plain, with a generous spread of butter, or even a dollop of jam for a sweet treat.
Common Mistakes and Tips for Success
When making Old Fashioned Yeast Rolls, avoiding common pitfalls can ensure a successful outcome. Here are a few tips to keep in mind:
- Overworking or underworking the dough: While kneading, aim for a smooth, elastic texture without overdoing it, as too much handling can lead to tough rolls.
- Temperature issues with yeast: Ensure liquids are warm (not hot) when activating yeast; too high of a temperature can kill the yeast.
- The importance of measuring flour accurately: Always spoon flour into your measuring cup and level it off. Too much flour can dry out the dough.
- Tips for perfecting texture and flavor: Allow ample rise time and avoid rushing through the proofing stages. This develops the yeast flavor and light texture.
- Handling leftovers: To extend the life of your rolls, consider freezing them. Wrap tightly in plastic wrap and foil before placing in an airtight container for up to three months.
Variations of Old Fashioned Yeast Rolls
Old Fashioned Yeast Rolls can be easily adapted to suit different tastes and occasions. Here are a few delightful variations:
Sweet Variations
- Cinnamon rolls: Roll out the dough and spread with cinnamon sugar before shaping for a sweet breakfast treat.
- Honey butter rolls: Incorporate honey into the dough for extra sweetness and serve with honey butter for a delectable combination.
Savory Variations
- Cheese-stuffed rolls: Add a cheese filling to the center of each roll for a savory twist.
- Garlic herb rolls: Infuse garlic and fresh herbs into the dough for a fragrant change. Brush with melted garlic butter before serving.
Nutritional Information
Understanding the nutritional content of your Old Fashioned Yeast Rolls can help you enjoy them as part of a balanced diet:
- Caloric content per roll: Approximately 150-200 calories, depending on ingredients.
- Breakdown of macronutrients: Each roll typically contains around 25g of carbohydrates, 4g of protein, and 6g of fat.
- Healthier ingredient swaps: Consider using whole wheat flour for added fiber and reducing sugar to create a healthier version.
Storing and Reheating Old Fashioned Yeast Rolls
Proper storage and reheating techniques can keep your rolls delicious for days:
- Best methods for storing rolls: Keep them in an airtight container at room temperature for up to two days. For extended freshness, store them in the refrigerator.
- How to properly freeze rolls: After cooling, wrap rolls individually in plastic wrap and aluminum foil before placing in a freezer bag.
- Reheating tips while maintaining freshness: Thaw frozen rolls overnight in the refrigerator and reheat in a preheated oven at 350°F (175°C) for 8-10 minutes.
Frequently Asked Questions (FAQ)
Here are some common questions and answers regarding Old Fashioned Yeast Rolls:
- What is the best type of yeast to use for rolls? Instant or active dry yeast works well; both produce excellent results.
- Can I make these yeast rolls ahead of time? Yes! You can prepare the dough, shape the rolls, and refrigerate them for up to 24 hours before baking.
- What if my yeast doesn’t bubble? This may indicate that your yeast is inactive. Check the expiration date and ensure the liquids were at the correct temperature during activation.
- Can I substitute milk for water? While you can use water, milk adds richness and flavor to the rolls.
- How do I make my rolls fluffier? Allow enough rise time and ensure your ingredients are at room temperature to help the yeast function properly.
Conclusion
Making Old Fashioned Yeast Rolls is a rewarding endeavor that fills the kitchen with warmth and nostalgia. These rolls are not just a side dish but a cherished part of family traditions and celebrations. We encourage you to try this classic recipe, experiment with variations, and enjoy the delightful experience of sharing freshly baked rolls with your loved ones.
Old Fashioned Yeast Rolls
Equipment
- 1 large mixing bowl
- 1 measuring cups and spoons
- 1 whisk
- 1 wooden spoon or dough scraper
- 1 clean kitchen towel
- 1 baking sheet
- 1 oven
Ingredients
- 4 cups all-purpose flour plus more for dusting
- 1 packet active dry yeast (2 1/4 teaspoons)
- 1/4 cup granulated sugar
- 1 teaspoon salt
- 1/2 cup whole milk
- 1/2 cup water
- 1/4 cup unsalted butter melted, plus more for brushing
- 2 large eggs
Instructions
- In a large mixing bowl, combine 2 cups of flour, sugar, salt, and yeast. Whisk together until well mixed.
- In a small saucepan, heat the milk and water over low heat until warm (about 110°F or 43°C). Remove from heat.
- Add the warm milk mixture and melted butter to the dry ingredients. Stir until combined.
- Beat the eggs in a separate bowl, then add to the mixture and stir until smooth.
- Gradually add the remaining flour, 1 cup at a time, until a soft dough forms.
- Turn the dough out onto a lightly floured surface and knead for about 5-7 minutes until smooth and elastic.
- Place the dough in a greased bowl, cover with a clean kitchen towel, and let it rise in a warm place until doubled in size, about 1 hour.
- Punch down the risen dough and turn it out onto a floured surface. Divide the dough into 12 equal pieces and shape them into rolls.
- Place the rolls on a greased baking sheet, leaving space between each. Cover with a towel and let rise again for about 30 minutes, or until doubled.
- Preheat the oven to 375°F (190°C).
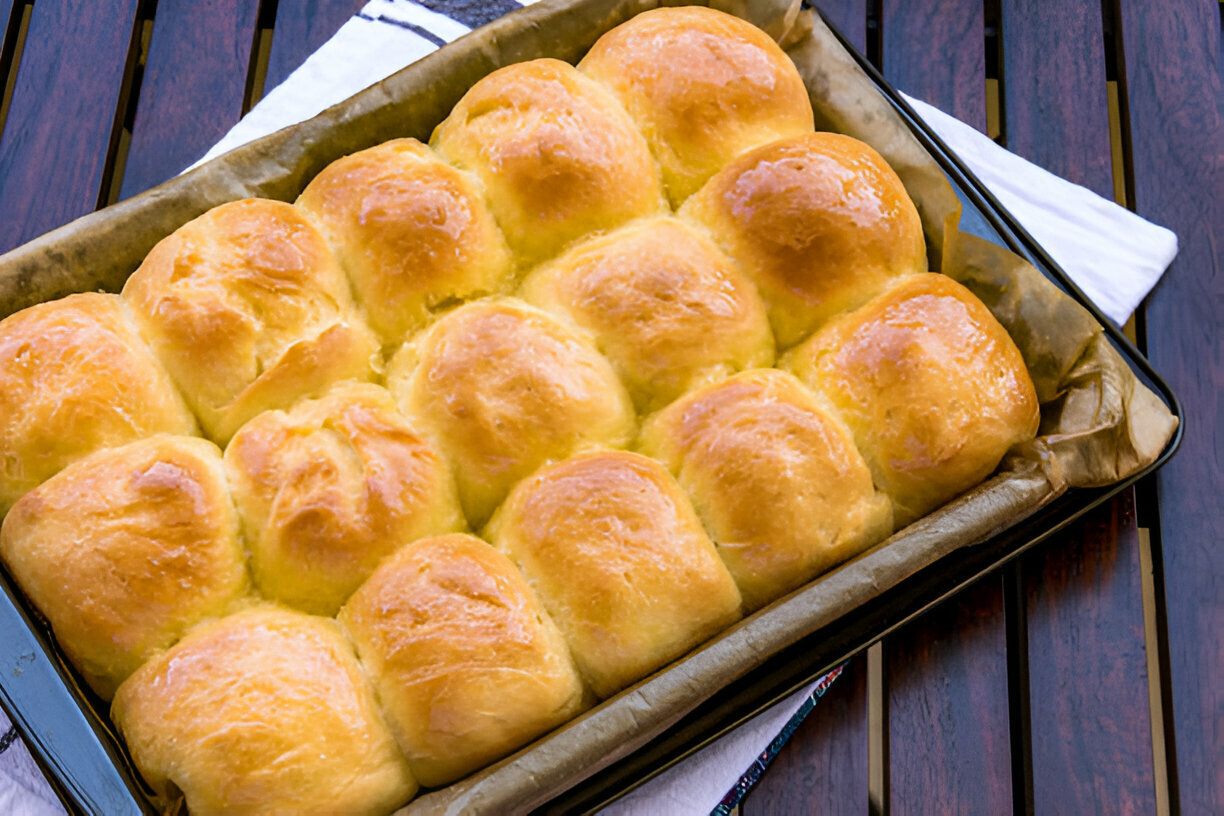
- Bake the rolls for 15-20 minutes or until golden brown. Brush with melted butter immediately after removing from the oven.
- Allow the rolls to cool slightly before serving.