
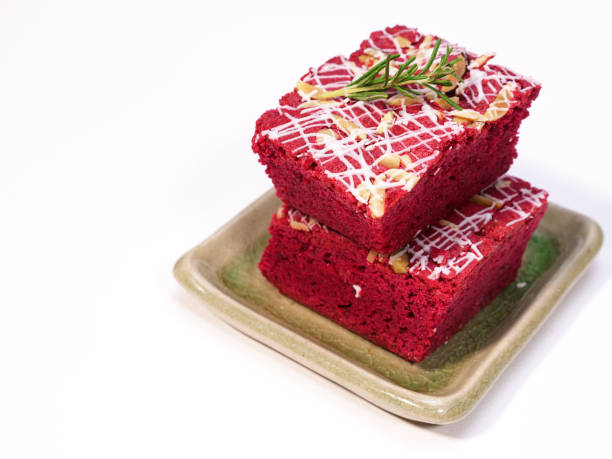
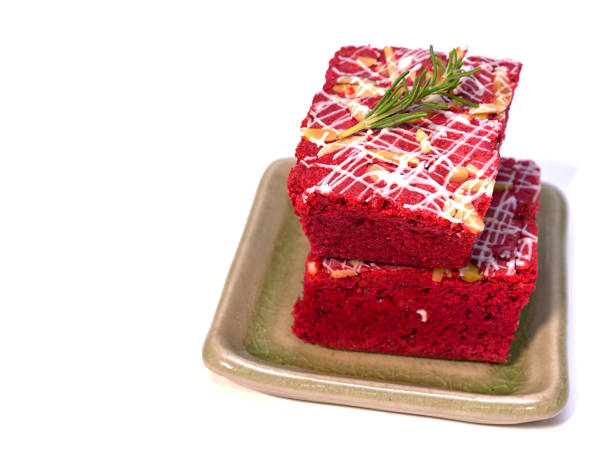
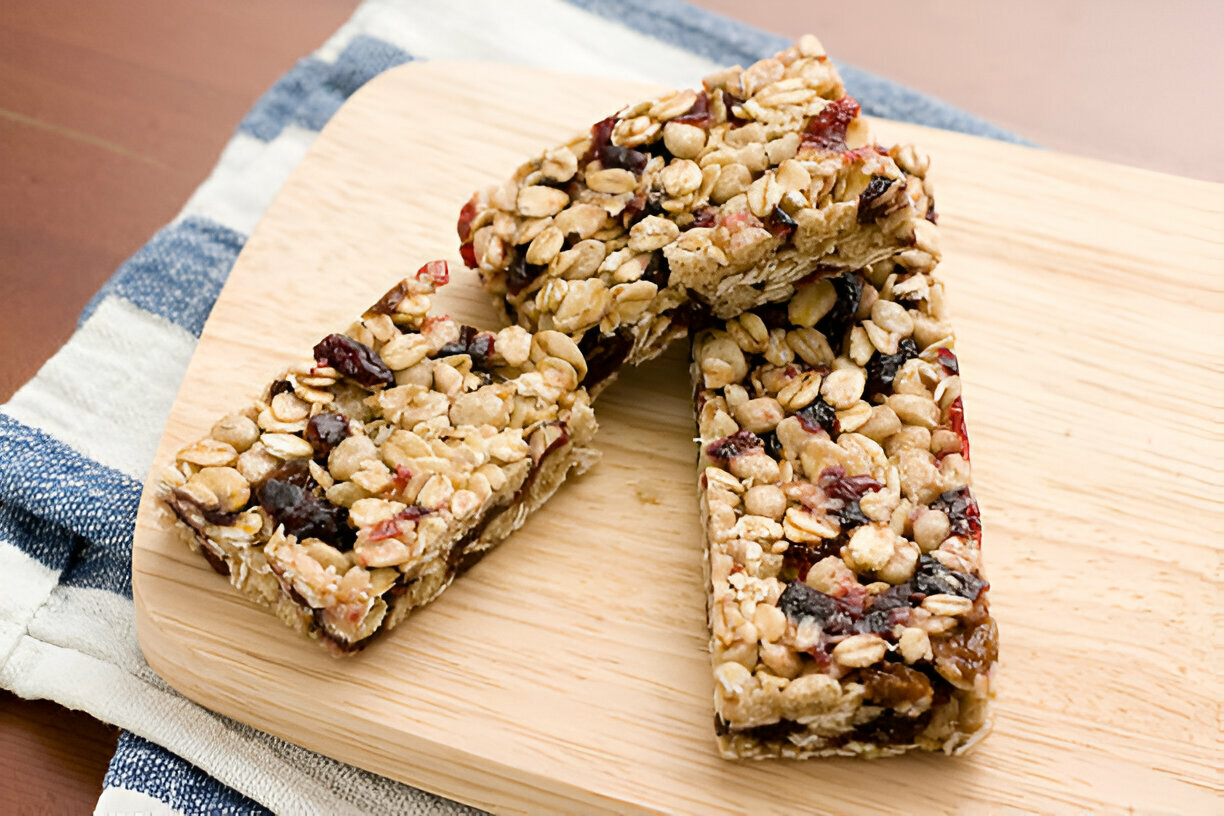
Red velvet brownies are an exciting twist on a classic dessert that has captured the hearts of dessert lovers everywhere. Combining the rich, chocolatey taste of brownies with the iconic flavor profile of red velvet, these treats are becoming increasingly popular for their vibrant color and unique taste. The striking red hue not only makes them visually appealing but also hints at the delightful fusion of flavors awaiting with each bite.
What sets red velvet brownies apart is their ability to blend celebration and everyday indulgence; they are perfect for festive occasions like Valentine's Day and birthdays, yet they can also bring a touch of luxury to an ordinary afternoon snack. The unique taste is attributed to a combination of cocoa, buttermilk, and a hint of vanilla, giving these brownies a flavor that is as rich as their appearance. Whether you are making them for a special event or simply to indulge yourself, red velvet brownies are sure to bring joy and satisfaction to any occasion.
What Are Red Velvet Brownies?
Red velvet brownies represent a delightful intersection of two beloved dessert traditions: the classic brownie and the iconic red velvet cake. Characterized by their rich chocolate flavor combined with a subtle tanginess from buttermilk, red velvet brownies offer a uniquely indulgent treat. The signature flavor profile is created through a careful balance of key ingredients like cocoa powder, buttermilk, and a hint of vanilla, resulting in a complex taste that differentiates them from standard brownies.
Traditional red velvet cake is known for its soft, airy texture, which comes from the use of cake flour and the method of cake preparation. In contrast, red velvet brownies typically boast a denser and fudgier texture, aligning more closely with the characteristics of brownies. This difference in texture is due to the higher fat content from butter and eggs, which encourages that rich, chewy consistency that brownie enthusiasts crave. As a result, red velvet brownies are more than just a visual treat; they are a decadent dessert that satisfies the palate in ways typical cakes do not.
History of Red Velvet Desserts
The origins of red velvet dessert recipes can be traced back to the early 20th century, with the first documented red velvet cake thought to emerge in the 1920s. This cake gained a reputation for its unique flavor and striking appearance due to the vibrant red hue that became associated with it. The distinctive color was originally achieved through a chemical reaction between cocoa powder and acidic ingredients like buttermilk and vinegar, although today's versions often utilize red food coloring to achieve a more pronounced color.
Over the decades, the red velvet flavor profile evolved, inspiring countless variations, including cupcakes, cookies, and, importantly, brownies. As culinary creativity surged, bakers began experimenting with these flavors in different formats, leading to the popularization of red velvet brownies as a standout dessert option. Today, they hold a special place in modern cuisine, often featured at celebrations and special occasions, thanks to their blend of nostalgia, presentation, and flavor. The cultural significance of red velvet desserts continues to grow, influencing dessert menus and inspiring home bakers alike.
Why Choose Red Velvet Brownies?
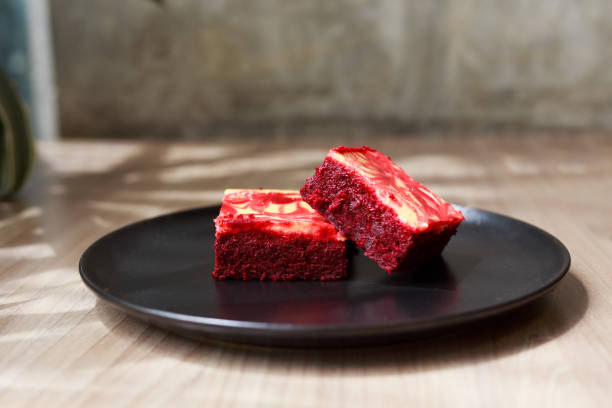
Red velvet brownies are more than just a treat; they are an experience that combines unique taste and visual appeal, making them a standout dessert option for various occasions. The stunning crimson color captures attention, inviting everyone to indulge in these decadent goodies. As they boast a beautiful presentation, they are perfect for making any gathering feel a little more special.
One of the key reasons to choose red velvet brownies is their versatility. They can seamlessly transition from a romantic dessert for Valentine’s Day to a festive snack for birthdays and holiday celebrations. Their unique flavor profile appeals to a wide array of palates; the blend of chocolate, buttermilk, and vanilla creates a delightful balance that is both rich and comforting.
The combination of rich flavors and different textures makes these brownies irresistible. The fudgy goodness, often accompanied by creamy white chocolate chips or a tangy cream cheese frosting, elevates a classic brownie into something extraordinary. Moreover, these brownies beg for pairing with other desserts and drinks. Serve them warm with a scoop of vanilla ice cream, coffee, or a glass of cold milk, and you’ll experience a treat that tantalizes all the senses.
Ingredients for Red Velvet Brownies
To create the perfect red velvet brownies, you'll need a selection of essential ingredients that contribute to their distinctive flavor and texture:
- Cocoa powder: Provides the rich chocolate base.
- Red food coloring: Gives the brownies their signature vibrant hue.
- All-purpose flour: The backbone of the brownie structure.
- Sugar: Adds sweetness and enhances flavor.
- Eggs: Provides moisture and binds the ingredients.
- Butter: Contributes to the rich, fudgy texture.
- Vanilla extract: Adds depth to the flavor profile.
- Baking soda: Helps with the rise and texture.
- Salt: Balances and enhances overall flavor.
- Optional: White chocolate chips or cream cheese frosting for extra indulgence.
Each ingredient is essential in achieving the brownie’s desired flavor and texture. The cocoa powder provides the signature chocolate taste while enhancing the overall richness. Red food coloring not only contributes to the aesthetic appeal but also complements the rich buttermilk flavor. The use of high-quality butter and eggs results in a fudgy consistency that satisfies even the pickiest dessert lovers. Optional add-ins like white chocolate chips or cream cheese frosting amplify the indulgent experience, giving you the freedom to personalize these brownies further.
Detailed Recipe for Red Velvet Brownies
Ingredients
- 1 cup unsalted butter, melted
- 1 cup granulated sugar
- 2 large eggs
- 2 teaspoons vanilla extract
- 1 cup all-purpose flour
- ⅓ cup cocoa powder
- 1 teaspoon baking powder
- ½ teaspoon salt
- 1 tablespoon red food coloring
- Optional: additional white chocolate chips for added taste
Directions
- Preheat Oven: Preheat your oven to 350°F (175°C). Grease and line a 9x13 inch baking pan with parchment paper.
- Mix Wet Ingredients: In a large mixing bowl, whisk together melted butter and granulated sugar until combined. Add the eggs, one at a time, mixing well after each addition, then stir in vanilla extract and red food coloring.
- Combine Dry Ingredients: In a separate bowl, sift together all-purpose flour, cocoa powder, baking powder, and salt.
- Combine Mixtures: Gradually add the dry mixture to the wet mixture, stirring until just combined. Be careful not to overmix. Fold in optional white chocolate chips if desired.
- Bake: Pour the brownie batter into the prepared pan, spreading it evenly. Bake for approximately 25-30 minutes, or until a toothpick inserted into the center comes out clean.
- Cool and Serve: Allow brownies to cool in the pan for at least 20 minutes. Lift them out using the parchment paper, slice, and serve. Enjoy!
Tips for Perfect Red Velvet Brownies
- Use high-quality cocoa powder for a richer flavor.
- Make sure not to overbake to maintain a fudgy texture.
- Experiment with different mix-ins (like berries or nuts) to customize the flavor.
- Let brownies cool completely before cutting for cleaner slices.
Popular Variations of Red Velvet Brownies
- Red Velvet Cheesecake Brownies: Incorporate a rich cheesecake layer on top of the brownie base for a delicious contrast.
- Red Velvet Swirl Brownies: Swirl a cream cheese mixture into the brownie batter before baking for a marbled effect.
- Gluten-Free Red Velvet Brownies: Substitute regular flour with a gluten-free blend for a celiac-friendly option.
- Vegan Red Velvet Brownies: Use flax eggs and plant-based butter to create a vegan version without sacrificing flavor.
Serving Suggestions
Serve your red velvet brownies with a variety of accompaniments to make them even more delightful:
- Pair them with a scoop of ice cream or a dollop of whipped cream for a classic combination.
- Drizzle with cream cheese glaze or frosting for added sweetness.
- Enjoy them with a fruit coulis or chocolate sauce for a delicious contrast of flavors.
Storage and Shelf Life
To keep your red velvet brownies fresh and delicious, it’s essential to store them properly:
- Store brownies in an airtight container at room temperature for up to 3 days.
- If you need to keep them longer, refrigerate them for about a week or freeze them for up to 3 months.
- When reheating, place them in the microwave for a few seconds to enjoy that fresh-baked taste again.
FAQs
What gives red velvet brownies their color?
The distinctive red color in red velvet brownies is primarily due to the addition of red food coloring, which enhances the natural reddish hue produced by cocoa powder in combination with acidic ingredients like buttermilk.
Can I make red velvet brownies without food coloring?
Yes, while red food coloring is traditional, you can achieve a similar flavor without it. The brownies will be more of a chocolate color but will still taste delicious. You could use natural alternatives, such as beetroot powder, for a slight red tint.
How do I know when red velvet brownies are done?
To check if your brownies are done, insert a toothpick into the center. If it comes out with a few moist crumbs, they are perfect. If the toothpick comes out clean, they may be overbaked. The edges should look set while the center remains slightly soft.
What is the difference between red velvet brownies and regular brownies?
The main difference lies in flavor and texture. Red velvet brownies incorporate flavors of buttermilk and vanilla along with cocoa powder, resulting in a unique taste. In addition, they tend to have a fudgier texture compared to traditional brownies.
Can I freeze red velvet brownies?
Absolutely! To freeze, wrap individual brownie squares tightly in plastic wrap and then place them in an airtight container. When you're ready to enjoy them, simply thaw them at room temperature or microwave for a few seconds.
How can I make my red velvet brownies extra fudgy?
To achieve an extra fudgy texture, consider using more butter or reducing the baking time slightly. Additionally, incorporating melted chocolate or using a higher fat content can enhance the fudginess.
Conclusion
Red velvet brownies are a delightful treat that evokes a sense of joy and indulgence. Their vibrant appearance and rich flavors make them a splendid choice for any occasion, whether it's a festive celebration or a simple afternoon snack. We encourage you to try the recipe at home, experimenting with your variations to create your perfect batch. Happy baking!
red velvet brownies
Equipment
- 1 9x13 inch baking pan
- 1 mixing bowls
- 1 electric mixer or whisk
- 1 rubber spatula
- 1 measuring cups and spoons
- 1 baking parchment paper
- 1 cooling rack
Ingredients
- 1 cup unsalted butter, softened
- 2 cups granulated sugar
- 4 large eggs
- 1 tablespoon vanilla extract
- 1 ½ cups all-purpose flour
- 1 cup unsweetened cocoa powder
- 1 teaspoon baking powder
- 1 teaspoon baking soda
- ½ teaspoon salt
- 1 tablespoon red food coloring
- ½ cup buttermilk
- 8 oz cream cheese, softened For Cream Cheese Frosting
- ½ cup unsalted butter, softened For Cream Cheese Frosting
- 4 cups powdered sugar For Cream Cheese Frosting
- 1 teaspoon vanilla extract For Cream Cheese Frosting
Instructions
- Preheat your oven to 350°F (175°C). Grease and line the baking pan with parchment paper for easy removal.
- In a large mixing bowl, cream together the softened butter and granulated sugar using an electric mixer until light and fluffy.
- Add the eggs one at a time, mixing well after each addition, then stir in the vanilla extract.
- In a separate bowl, whisk together the flour, cocoa powder, baking powder, baking soda, and salt.
- Gradually add the dry ingredients to the wet mixture, alternating with the buttermilk, and mix until fully combined.
- Stir in the red food coloring until the batter is evenly colored.
- Pour the brownie batter into the prepared baking pan, spreading it evenly.
- Bake in the preheated oven for 30 minutes or until a toothpick inserted in the center comes out clean.
- Allow brownies to cool completely in the pan on a wire rack.
- For the cream cheese frosting, beat the softened cream cheese and butter together until smooth.
- Gradually mix in the powdered sugar and vanilla extract until creamy.
- Once the brownies are completely cooled, spread the cream cheese frosting on top.
- Cut into 12 pieces and serve.


Leave a Reply