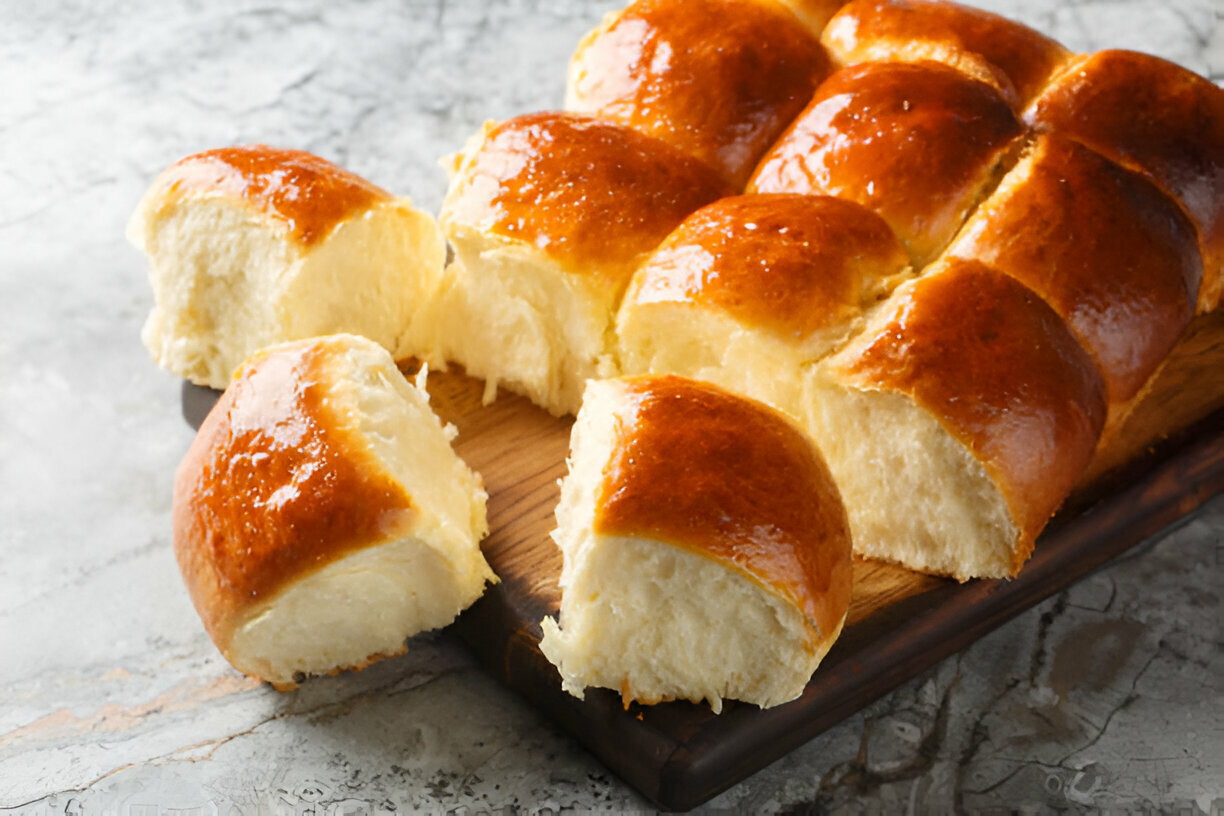
The Best Dinner Rolls – Kristine’s Kitchen Recipes
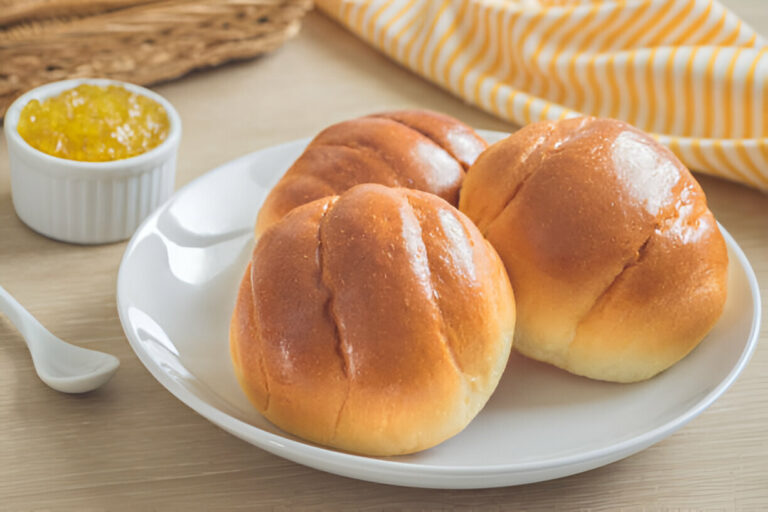
Dinner rolls have long held a cherished place at the dining table, serving as comforting companions to a variety of meals. Whether served as a warm starter or a delightful side, these fluffy delights enhance the overall enjoyment of any gathering, from family dinners to festive celebrations. Their aroma wafting through the kitchen evokes a sense of home and warmth, making dinner rolls an essential component of culinary traditions across the globe.
At Kristine’s Kitchen, we understand the magic that homemade dinner rolls can bring to your dining experience. As a trusted source for delicious and accessible recipes, we take pride in sharing the joy of cooking with others. Our goal is to inspire both seasoned bakers and novices alike to explore the world of homemade bread-making, and what better way to begin than with the humble yet extraordinary dinner roll?
In this article, you can expect to delve into the history of dinner rolls, discover why homemade varieties outshine store-bought options, and learn about the essential ingredients and equipment needed to create the best dinner rolls from scratch. Additionally, we provide a tried-and-true recipe, along with baking tips and delicious variations to elevate your roll-making skills. Get ready to enjoy the delightful experience of creating warm, fresh dinner rolls that will leave your family asking for seconds!
The History of Dinner Rolls
Dinner rolls have been a staple of dining tables for centuries, with their origins tracing back to various cultures around the world. In ancient times, bread was a fundamental part of the meal, often used as an edible utensil. As culinary practices evolved, so did the types of bread, leading to the creation of the soft, pillowy dinner rolls we cherish today. Initially simple in nature, these rolls transformed into more refined versions, incorporating richer ingredients and various techniques that added flavor and texture.
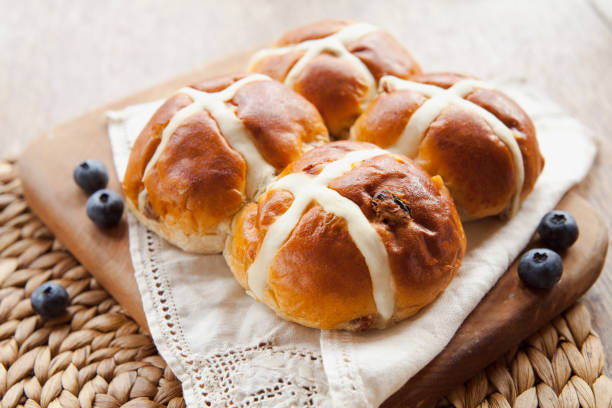
Over the years, different cultures contributed their unique twists to dinner rolls. For instance, in France, the iconic “petit pain” emerged as a beloved companion to many meals, while the Italian “panini” and fluffy “brioche” rolls added a touch of luxury to gatherings. Today’s dinner rolls come in a variety of styles, catering to diverse palates—ranging from soft and airy to crusty and artisanal. Sweet versions, often flavored with cinnamon or topped with honey, provide a delicious contrast alongside savory dishes, making them a versatile component of any meal.
Why Homemade Dinner Rolls Are the Best
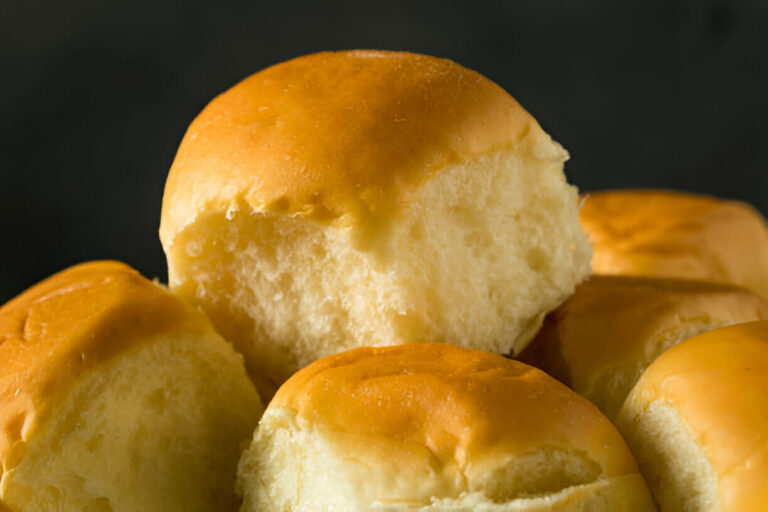
When it comes to dinner rolls, the difference between homemade and store-bought is palpable. One of the most significant advantages of making rolls at home is the incredible flavor and freshness. Homemade rolls provide a warmth and rich aroma that store-bought varieties simply can’t replicate. The process of baking fills your kitchen with enticing scents, transforming your home into a haven of comfort and joy.
Another benefit of homemade dinner rolls lies in their customization. When you bake from scratch, you have the freedom to adjust ingredients to accommodate dietary preferences or restrictions. Whether you need gluten-free options or wish to experiment with vegan substitutes, the possibilities are endless, allowing you to create rolls that meet your specific needs.
Lastly, the baking experience itself can be profoundly rewarding. Kneading dough, watching it rise, and ultimately enjoying the fruits of your labor provide a sense of accomplishment that is hard to achieve with store-bought goods. Making dinner rolls from scratch not only enhances the mealtime experience but also creates lasting memories and traditions that can be passed down through generations.
Essential Ingredients for Dinner Rolls
Creating the perfect dinner rolls starts with understanding the essential ingredients that contribute to their delightful taste and texture. Here’s a breakdown of the key components:
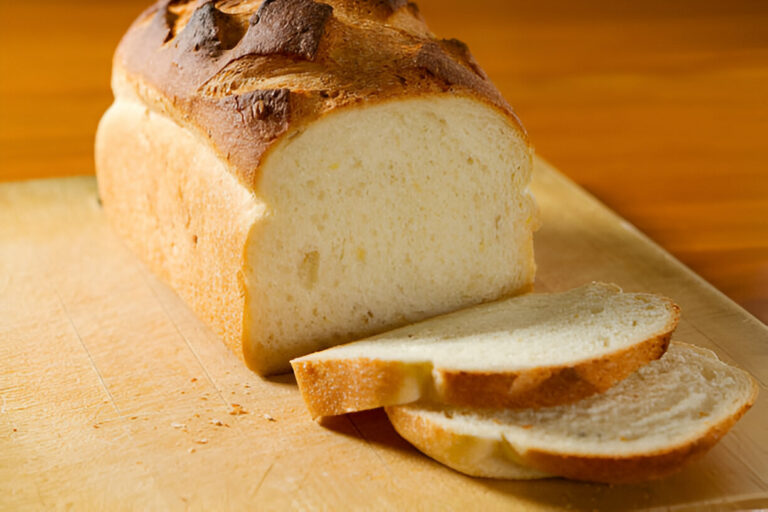
- Flour: The backbone of your rolls, flour provides structure. All-purpose flour is commonly used, but bread flour can also yield a chewier texture due to its higher protein content.
- Yeast: This magical ingredient is responsible for the rise in your dinner rolls. You can choose between active dry yeast and instant yeast, with the latter allowing for a quicker baking process.
- Liquid: Liquid is necessary to hydrate the flour and activate the yeast. Options include warm milk, water, or even broth for added flavor.
- Fats: Fats, such as butter, contribute to the richness and flavor of the rolls. You can also consider substituting with alternatives like olive oil or plant-based butters.
- Sweeteners: A little sweetness enhances the flavor of your rolls. Common choices are granulated sugar, honey, or maple syrup.
Equipment You Need
To create the best dinner rolls, having the right equipment on hand is essential. Here’s a list of the necessary tools:
- Mixing Bowls: Choose bowls of various sizes to accommodate mixing and rising.
- Rolling Pin: This tool is useful for rolling out dough if you’re making shaped rolls.
- Baking Sheet/Pan: A sturdy baking sheet or a 9×13 pan works well for baking these fluffy rolls.
- Kitchen Towel: Use a clean towel to cover rising dough, helping to maintain warmth and moisture.
- Oven Thermometer: Ensures your oven is at the correct temperature for optimal baking results.
The Best Dinner Rolls Recipe
Ingredients
- 4 cups all-purpose flour
- 1 packet instant yeast (2 ¼ teaspoons)
- 1 cup warm milk (not too hot)
- ¼ cup melted butter
- 3 tablespoons sugar
- 1 teaspoon salt
- 1 large egg
- Optional: Garlic, herbs, or cheese for flavoring
Directions
- Prepare Yeast Mixture: Combine warm milk and sugar in a small bowl; sprinkle the yeast over the top and let it foam for about 5-10 minutes.
- Mix Dough Ingredients: In a larger bowl, whisk together the flour and salt. Create a well in the center and add the yeast mixture.
- Knead the Dough: Add melted butter and the egg to the well. Mix until combined, then knead the dough on a floured surface for about 5-10 minutes until smooth.
- First Rise: Place the kneaded dough in an oiled bowl, cover it with a towel, and let it rise in a warm place until doubled in size, about 1 hour.
- Shape Rolls: After the first rise, punch the dough down to release air. Divide it into 12 equal pieces, shape them into rolls, and place them in a greased baking pan.
- Final Rise: Cover the shaped rolls with a towel and let them rise again until doubled in size, about 30-45 minutes.
- Bake: Preheat your oven to 375°F (190°C). Bake the rolls for 15-18 minutes, or until golden brown.
- Finishing Touch: For a rich flavor, brush the warm rolls with melted butter before serving.
Baking Tips and Variations
To ensure your dinner rolls turn out perfect every time, here are some helpful tips:
- Measure flour correctly by spooning it into the measuring cup and leveling off with a knife.
- Use the “poke test” to determine the readiness of the dough. If it springs back slowly, it’s ready to rise.
Consider trying these delicious variations to add a unique twist to your rolls:
- Garlic Butter Rolls: Brush pre-baked rolls with garlic-infused butter for a savory flavor.
- Cinnamon Rolls: Introduce cinnamon and sugar in the dough for a sweet dessert variation.
- Cheese-Stuffed Rolls: Add your favorite cheese into the center of the rolls before baking for a gooey surprise.
Frequently Asked Questions (FAQs)
What is the best type of flour for dinner rolls?
All-purpose flour is ideal for soft dinner rolls, but bread flour can be used for a chewier texture.
How do I store leftover dinner rolls?
Store rolls in an airtight container at room temperature for up to 2-3 days, or in the refrigerator for longer freshness.
Can I freeze dinner rolls?
Yes, baked rolls can be frozen. Ensure they are completely cooled, then place them in a freezer-safe bag for up to 3 months.
What happens if I over-proof my dough?
Over-proofing can cause the rolls to lose their structure and may result in dense, flat rolls. Keep an eye on rising times!
Is it possible to make dinner rolls without yeast?
Yes! You can use baking powder or baking soda as leavening agents in recipes that do not require yeast.
Conclusion
Homemade dinner rolls elevate any meal with their warmth and flavor, inviting you to enjoy both the process of baking and the delightful results. Try out this simple recipe from Kristine’s Kitchen and share your baking journey with us, along with any unique variations you create!
The Best Dinner Rolls - Kristine's Kitchen
Equipment
- 1 large mixing bowl
- 1 stand mixer with dough hook
- 1 measuring cups and spoons
- 1 clean kitchen towel or plastic wrap
- 1 baking sheet
- 1 parchment paper optional
- 1 brush for butter optional
Ingredients
- 4 cups all-purpose flour
- 2 1/4 teaspoons instant yeast 1 packet
- 1/4 cup granulated sugar
- 1 teaspoon salt
- 1/4 cup unsalted butter, melted
- 1 cup whole milk, warm
- 1 large egg
- as needed tablespoons melted butter for brushing optional
Instructions
- In a large mixing bowl, combine the warm milk, sugar, and yeast. Let it sit for about 5 minutes until it becomes frothy.
- Add the melted butter and the egg to the yeast mixture, and stir until well combined.
- Gradually add the flour and salt to the mixture. You can use a stand mixer with a dough hook or mix by hand with a spoon until a dough forms.
- If using a stand mixer, knead the dough on medium speed for about 5 minutes or until it is smooth and elastic. If mixing by hand, knead the dough on a floured surface for the same amount of time.
- Place the dough in a greased bowl, cover it with a clean kitchen towel or plastic wrap, and let it rise in a warm place for about 1 hour, or until it doubles in size.
- After the dough has risen, punch it down gently and divide it into 12 equal pieces. Shape each piece into a ball and place them on a baking sheet lined with parchment paper, spaced apart.
- Cover the rolls again with the kitchen towel and let them rise for an additional 30 minutes, or until they have doubled in size.
- Preheat your oven to 350°F (175°C).
- Once the rolls have risen, brush the tops with melted butter if desired.
- Bake for 15-20 minutes, or until the tops are golden brown.
- Remove from the oven and let cool slightly before serving.